Alvin And The Chipmunks Coloring Pages - Free Printable Coloring Pages

By: Cute Art Team Verified  Last updated: November 4, 2024

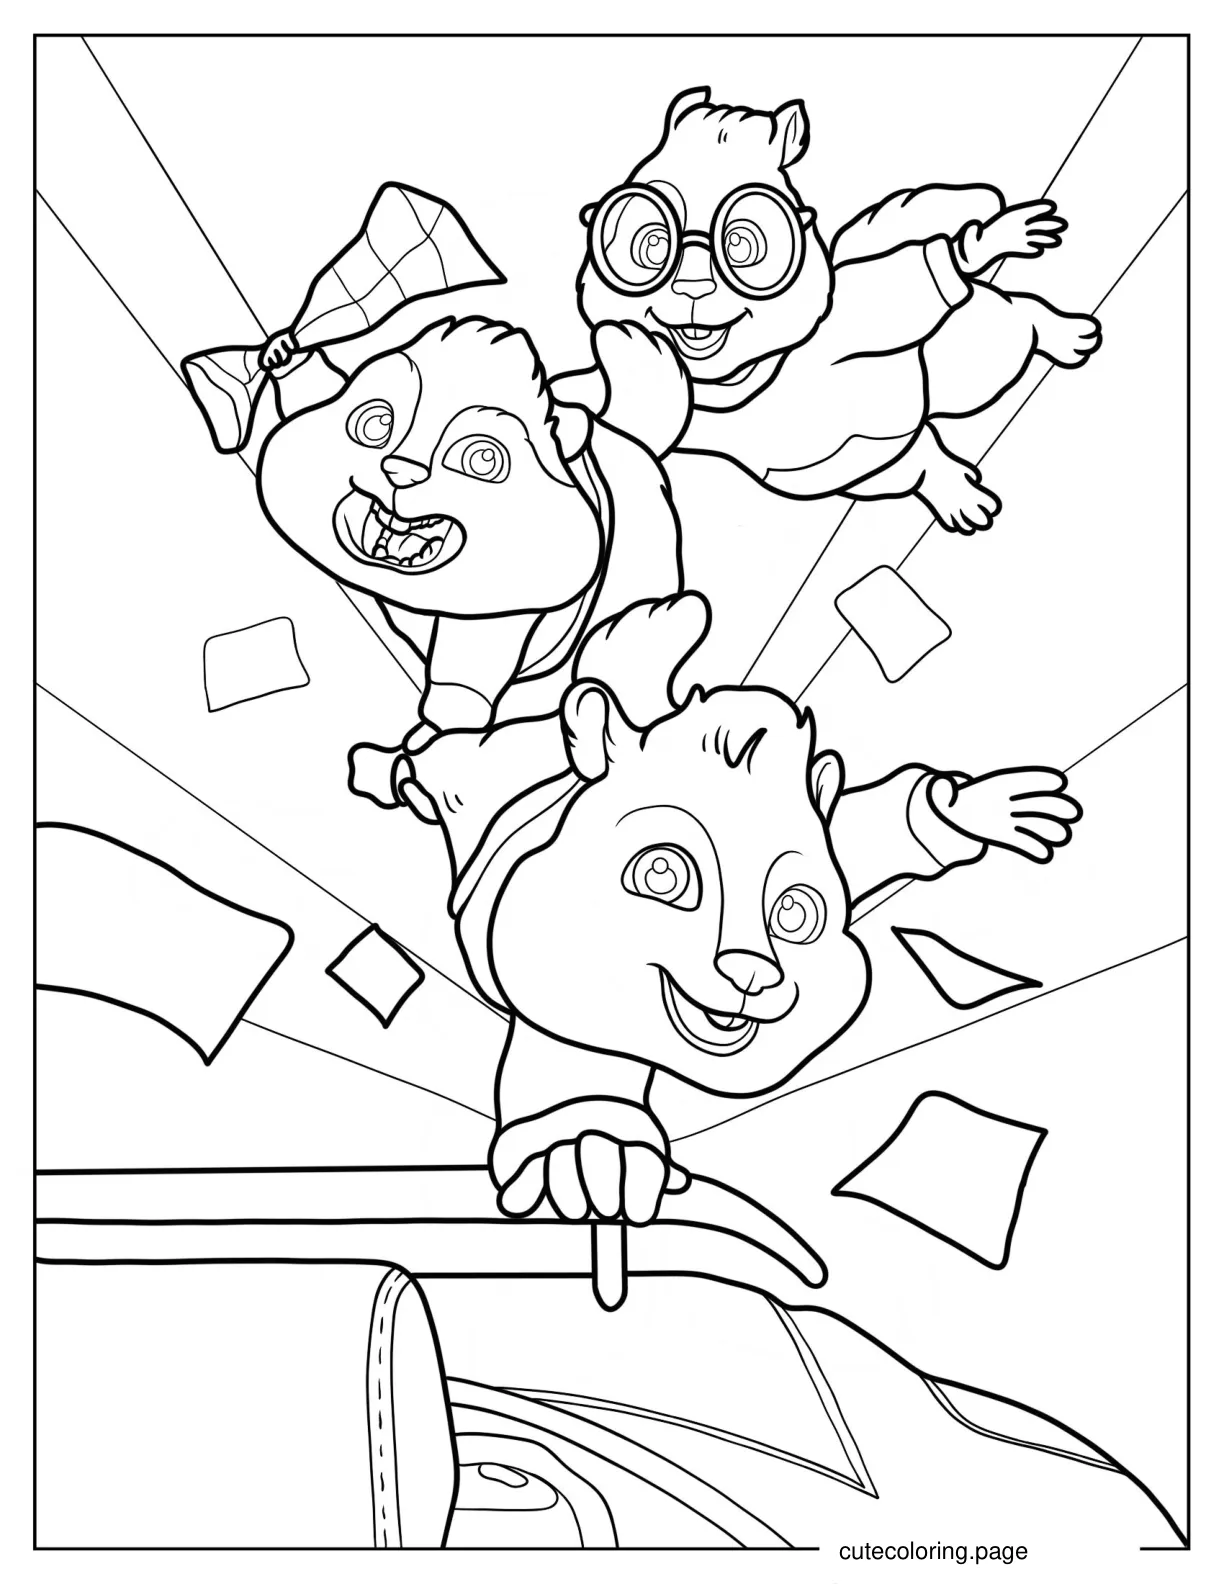
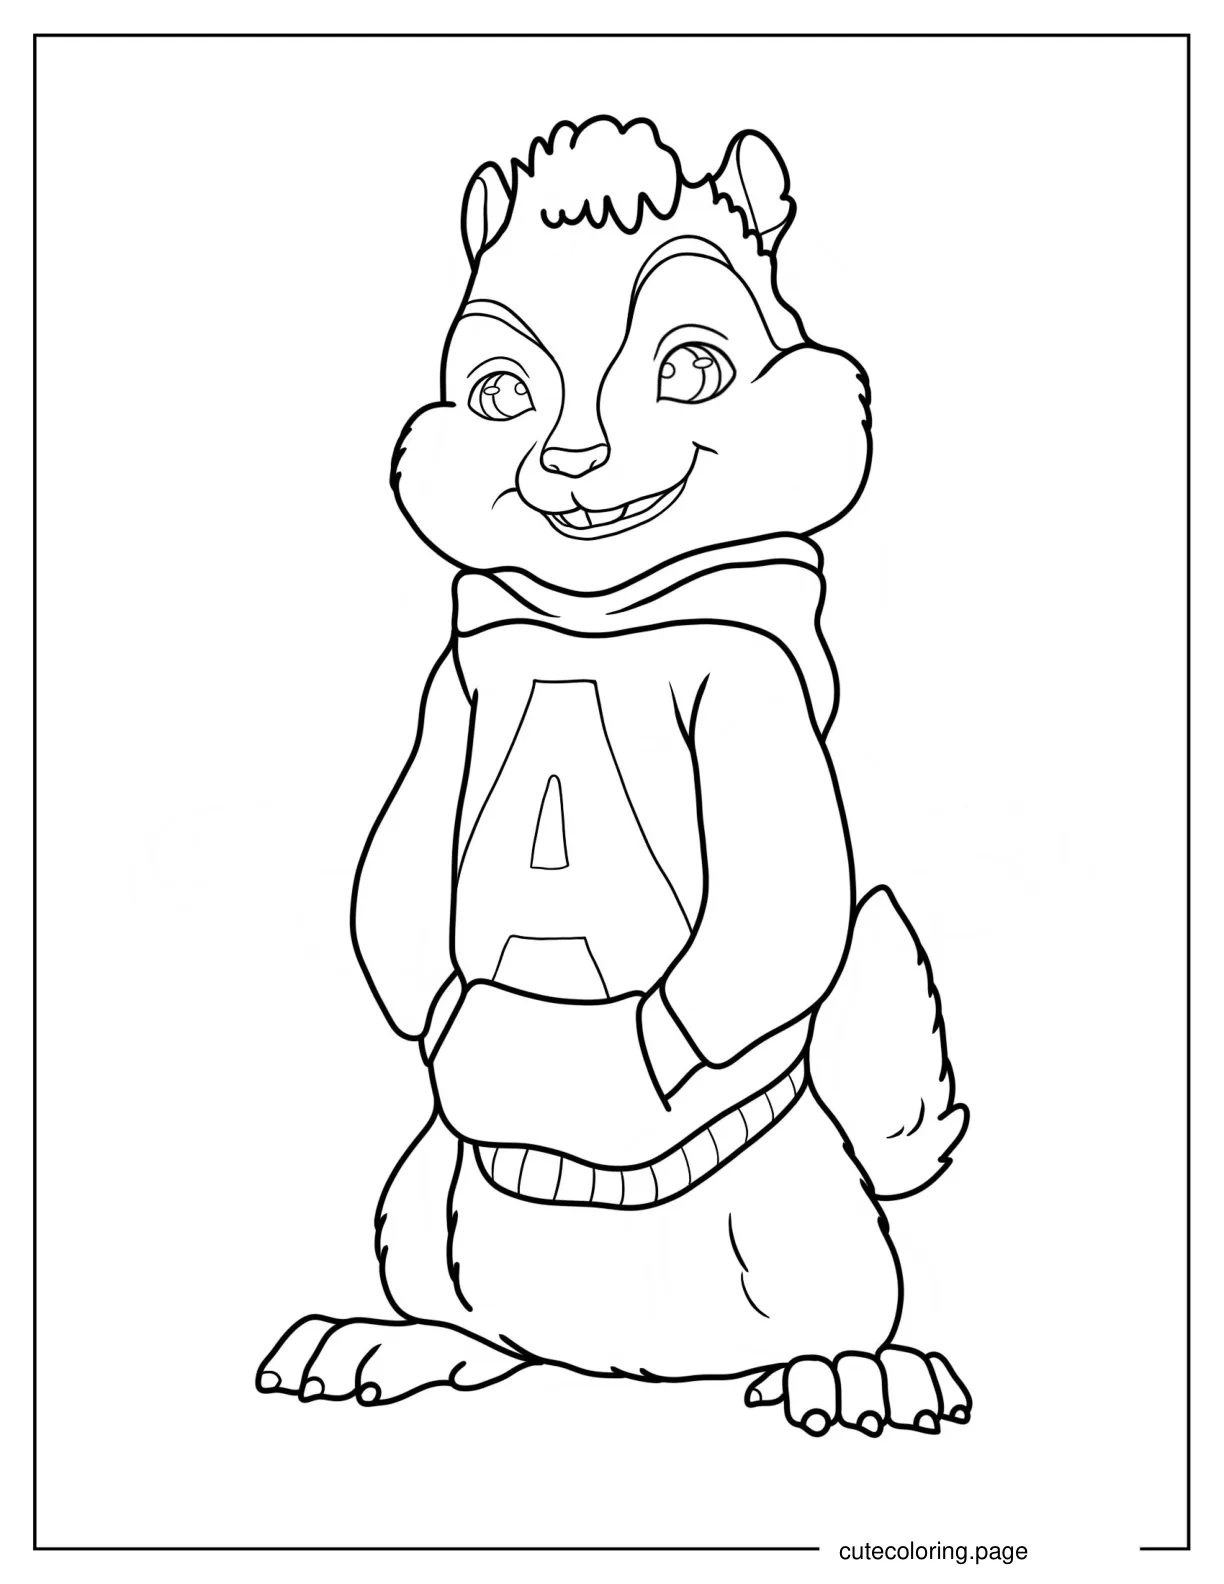
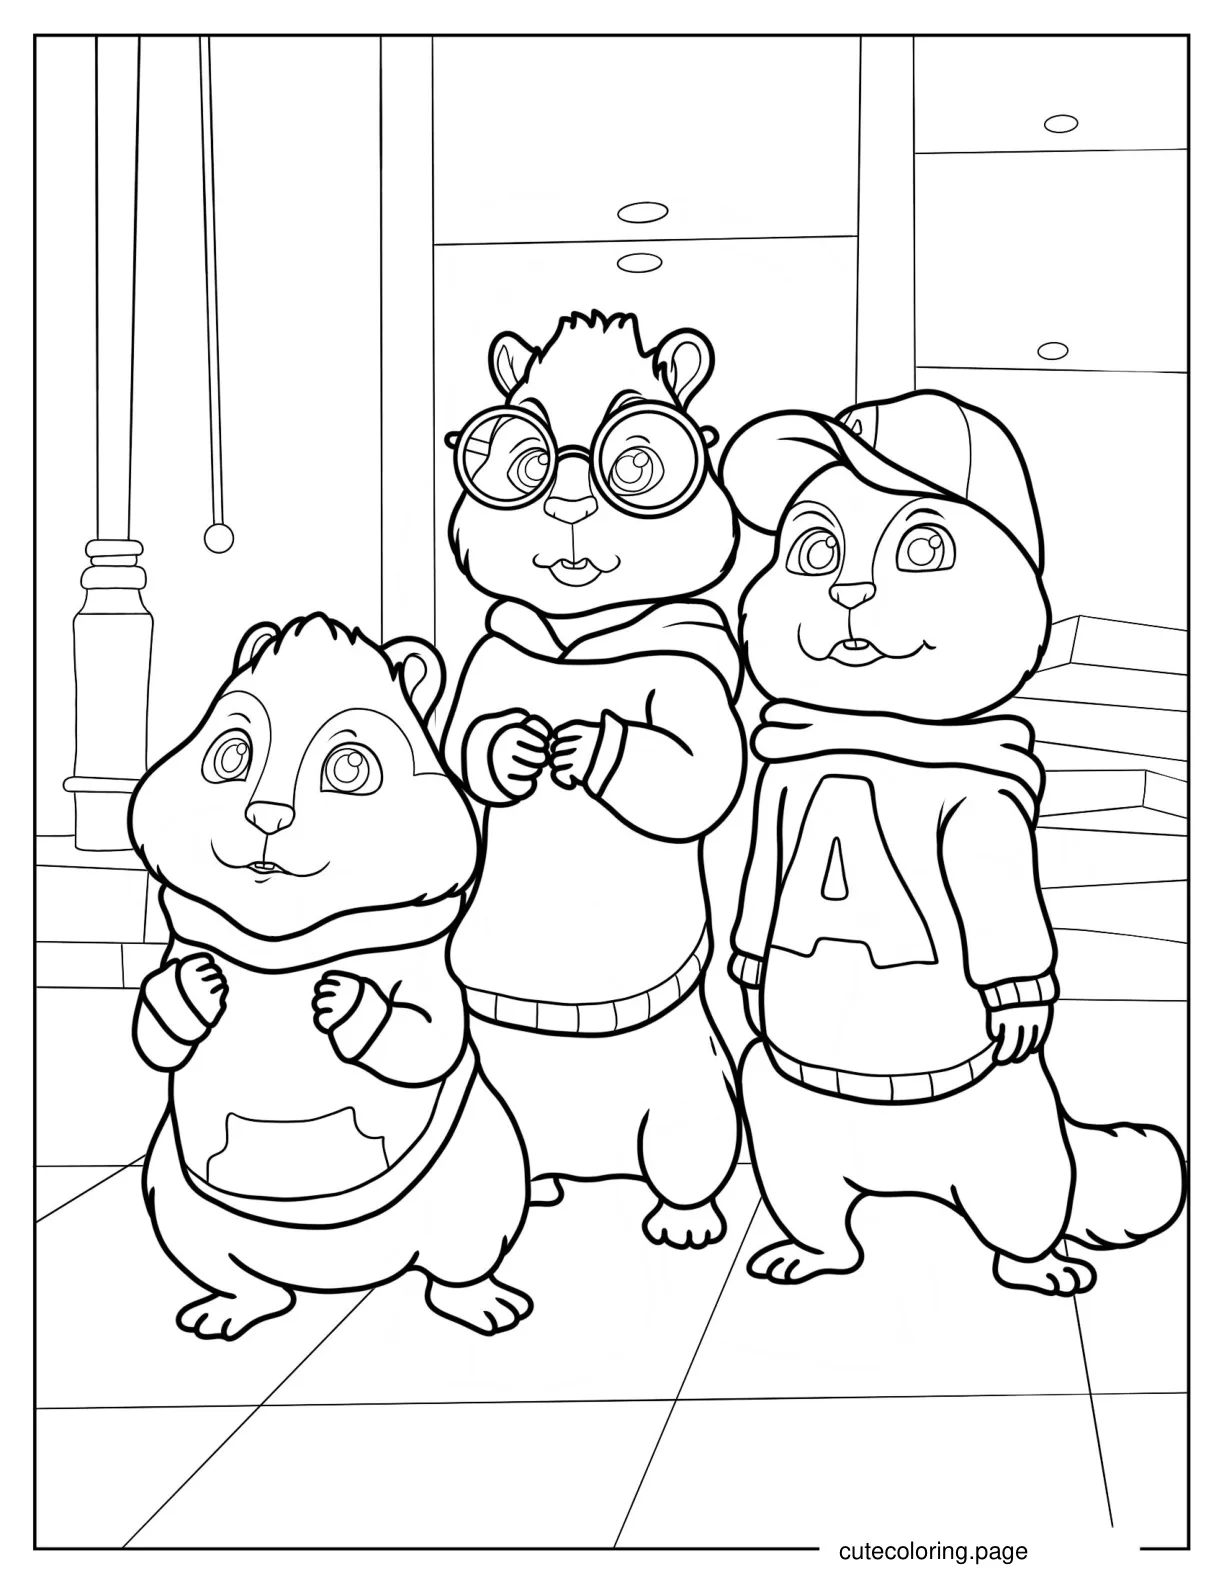
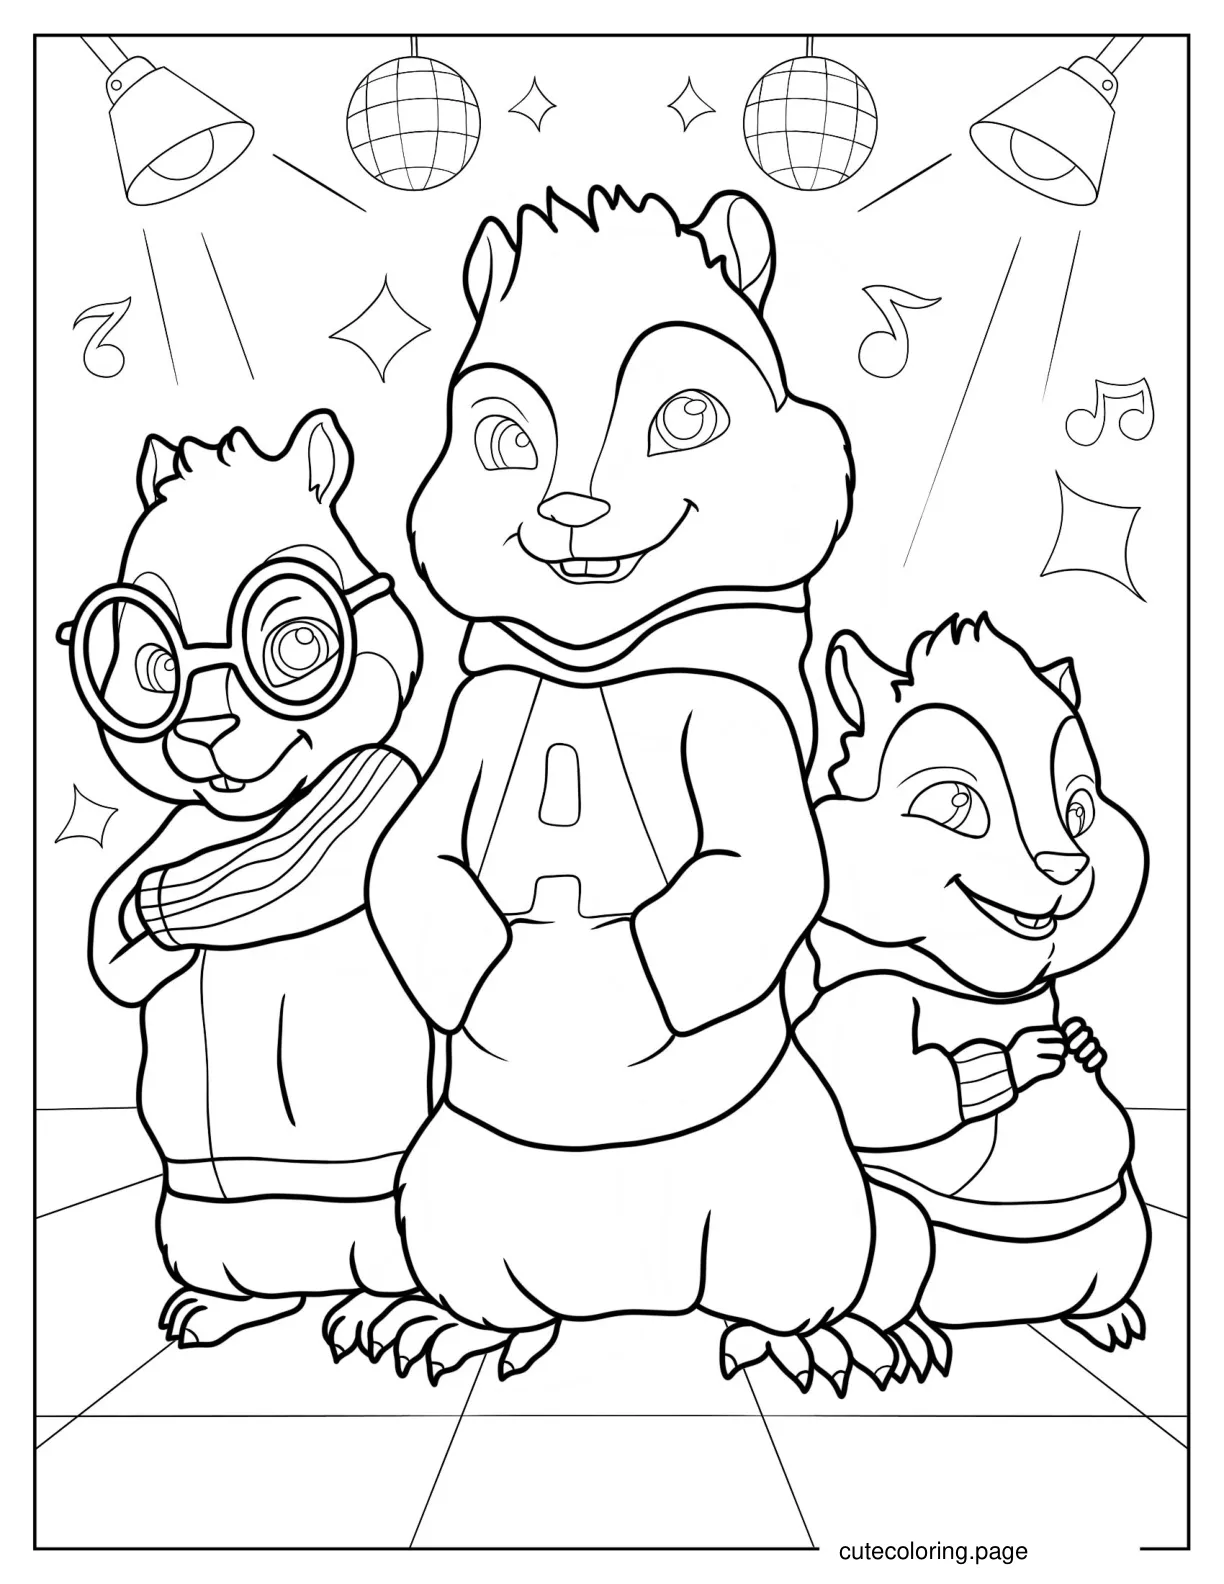
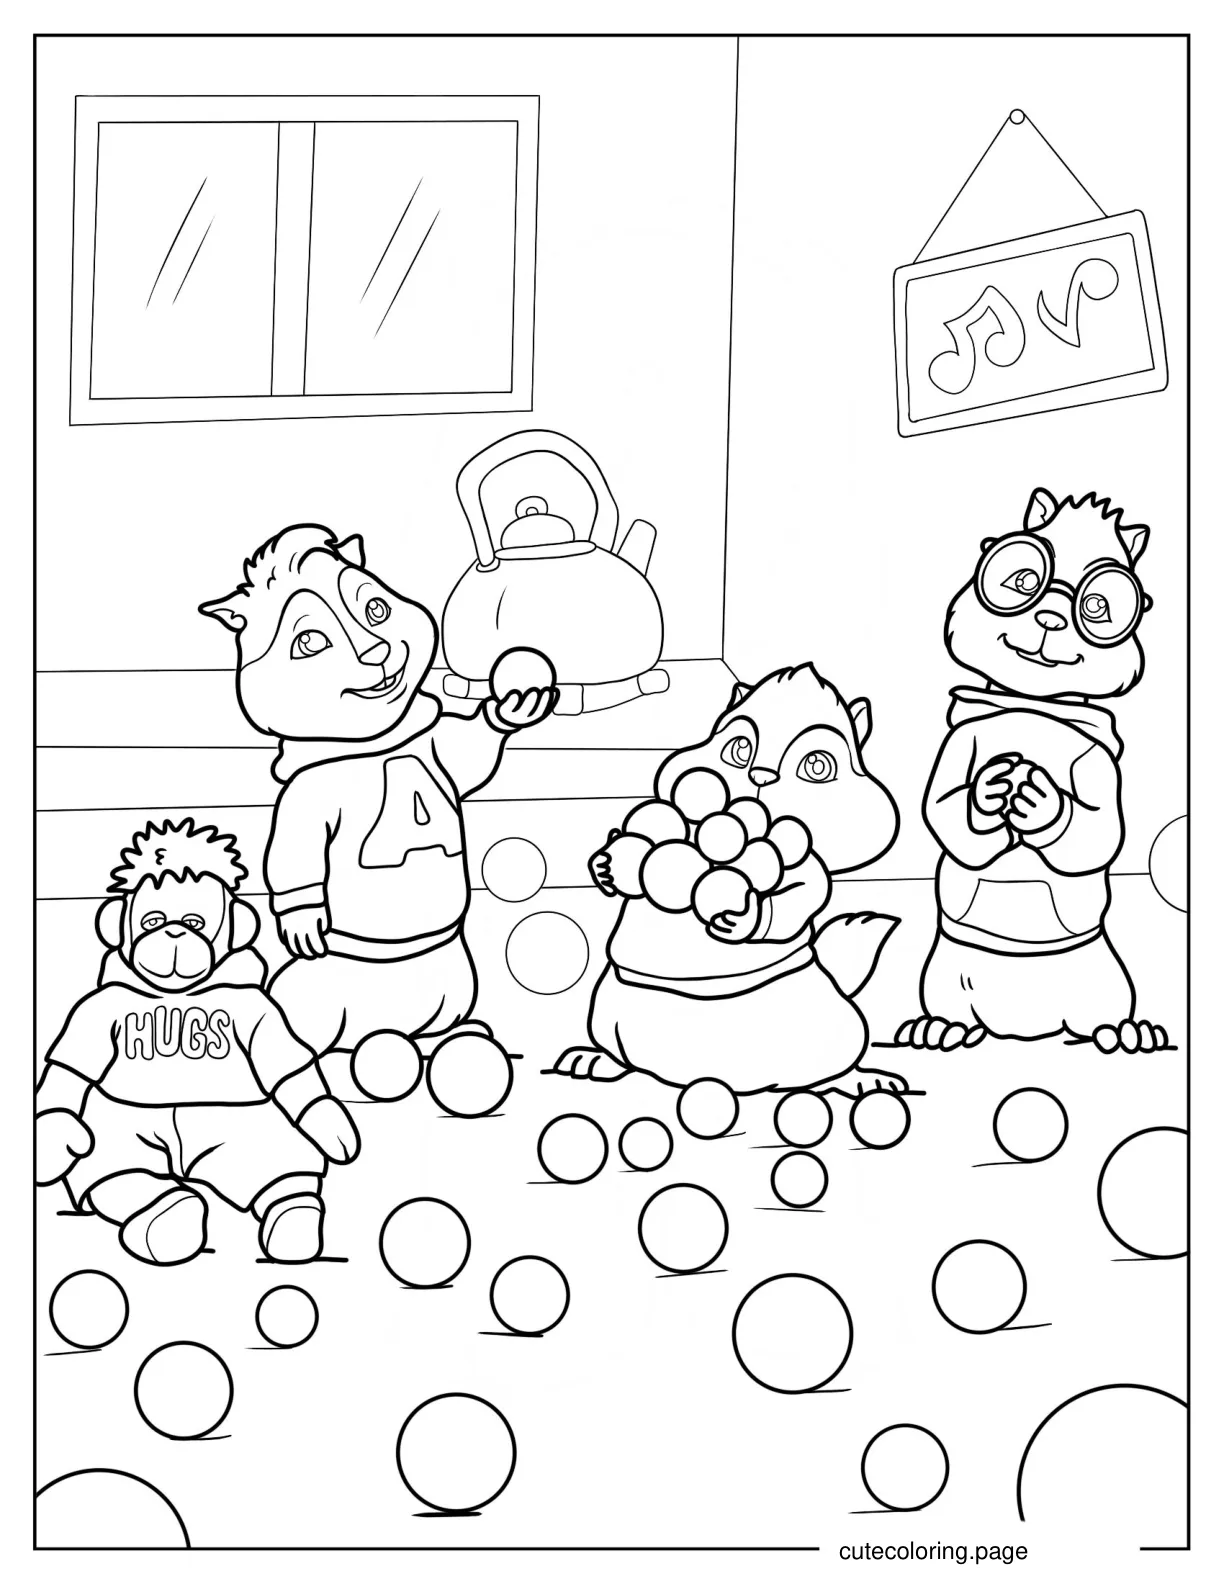
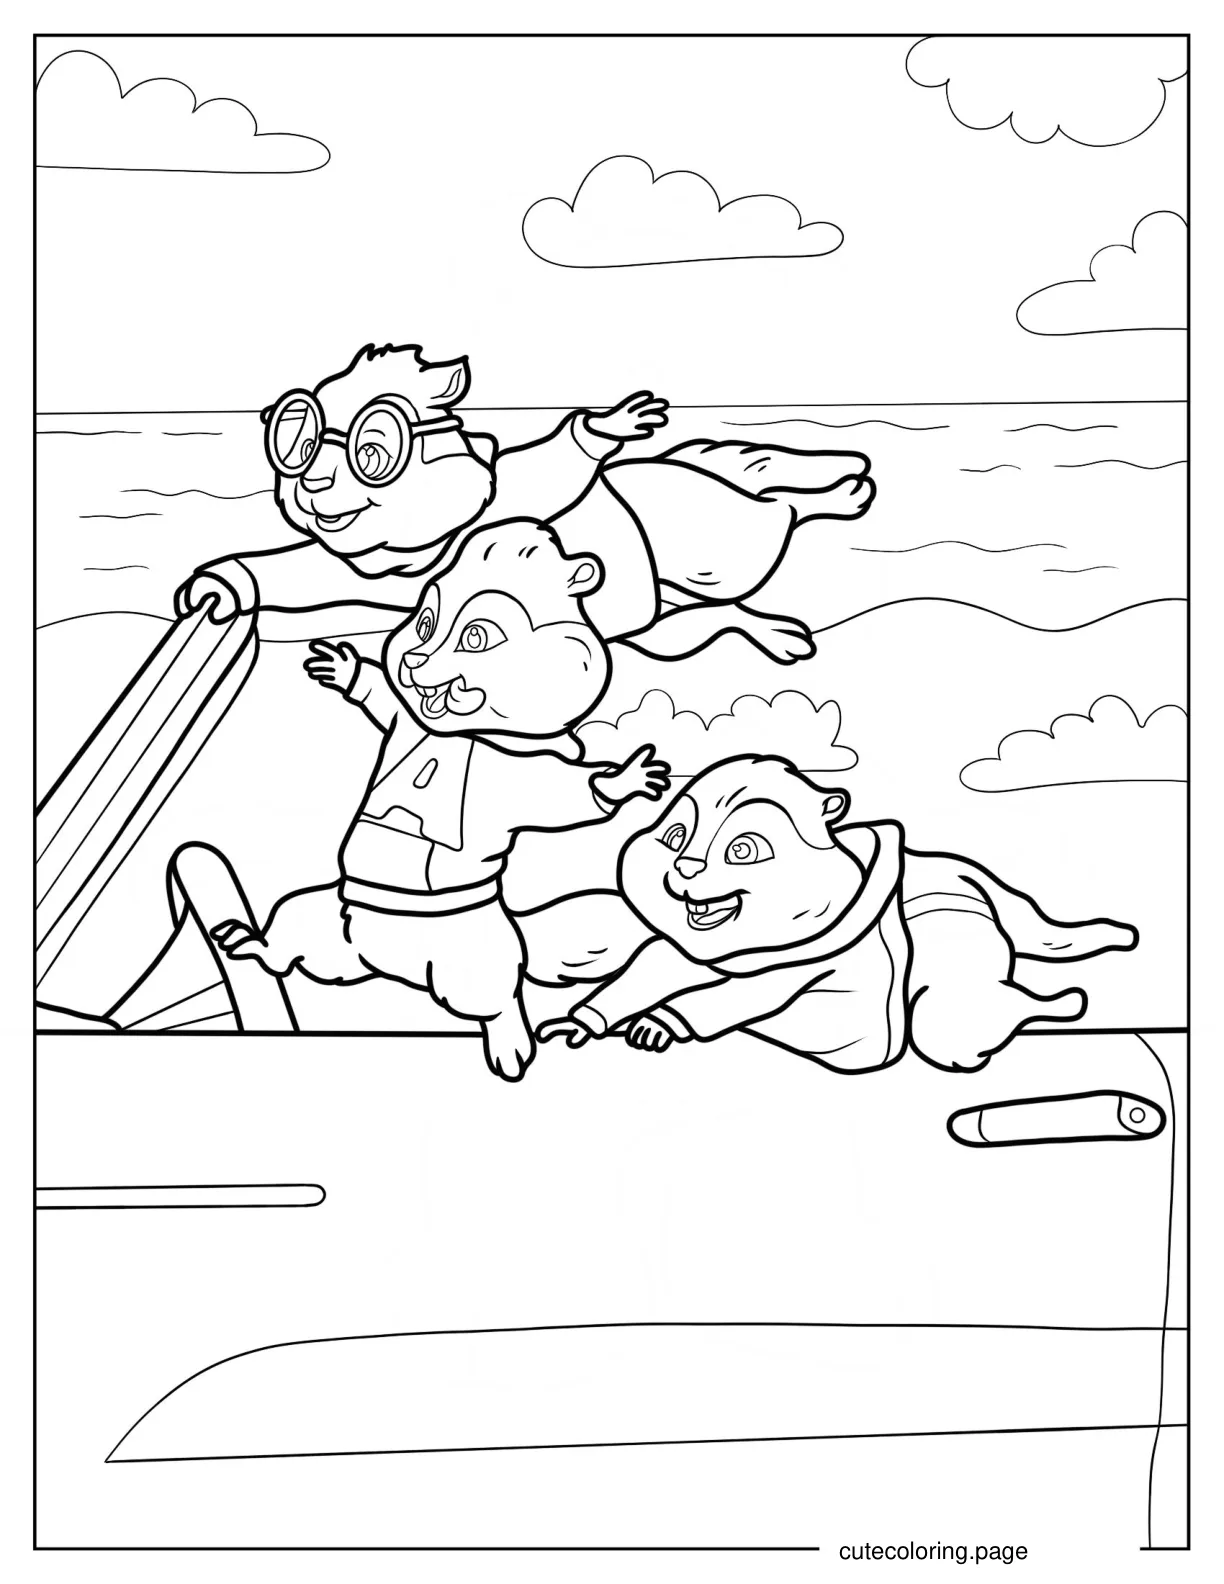
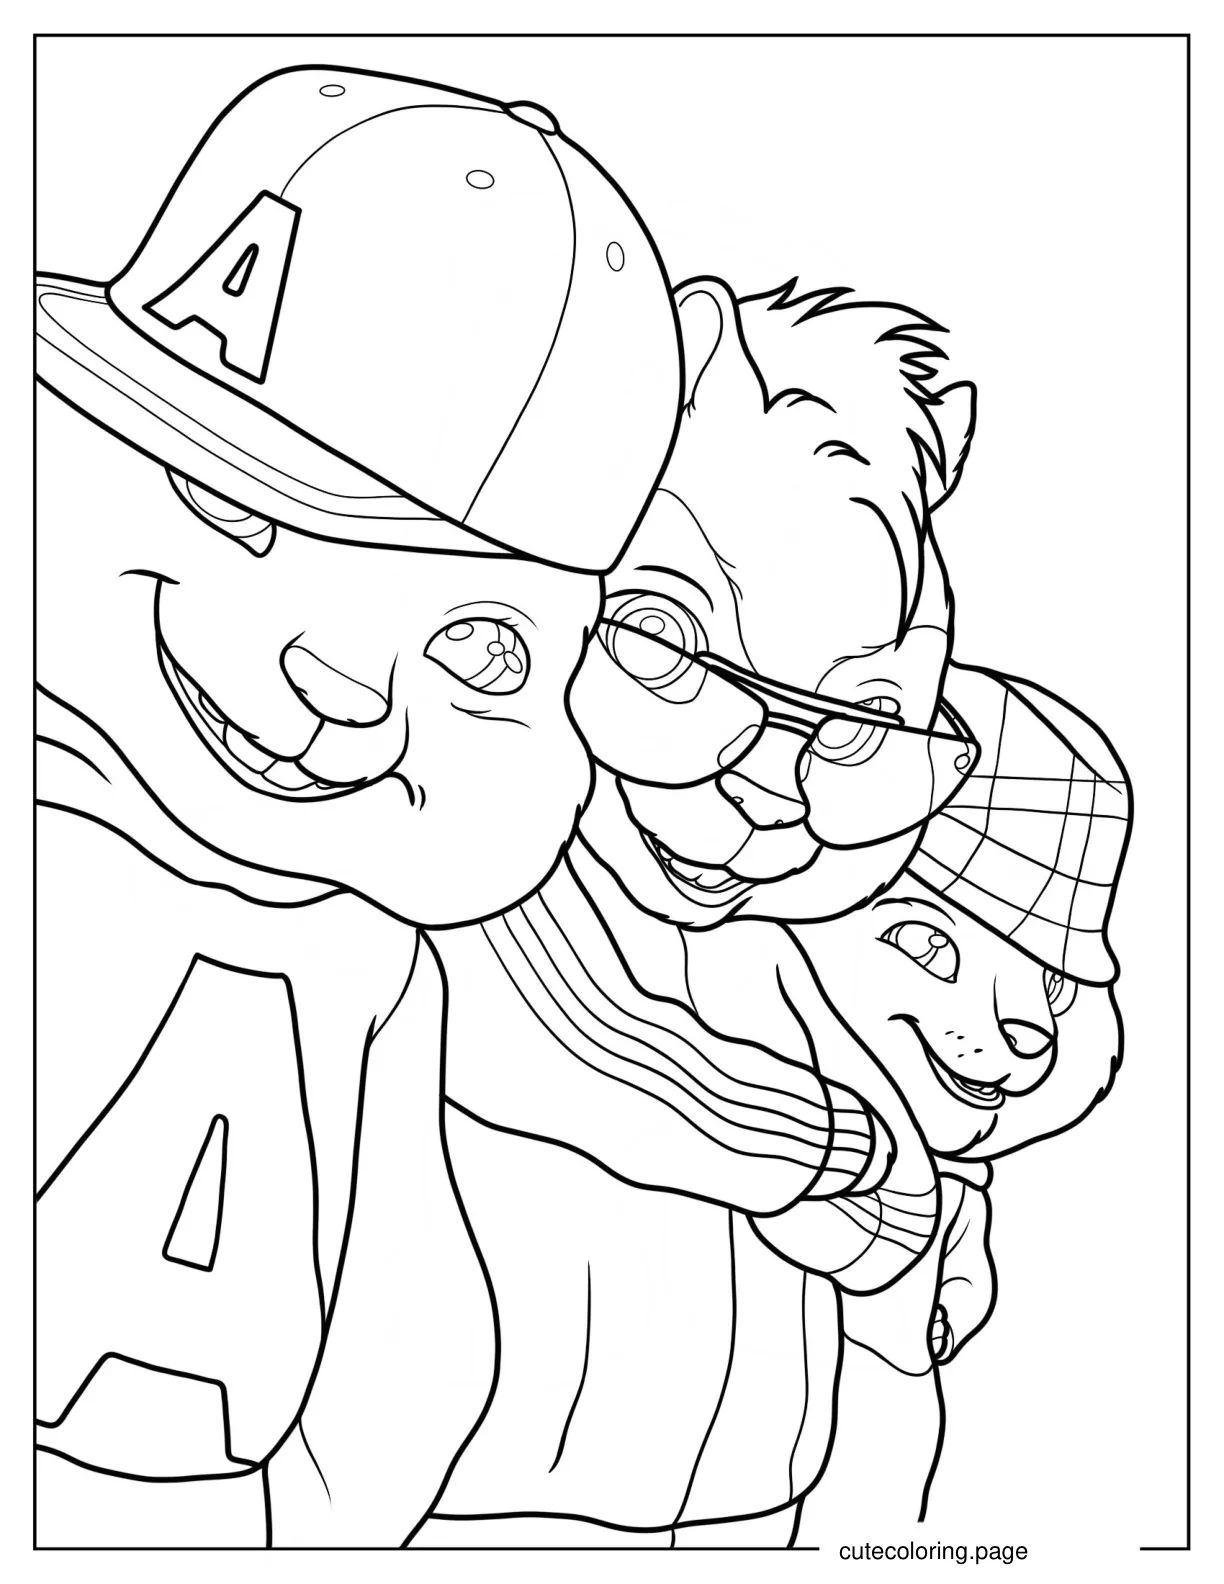
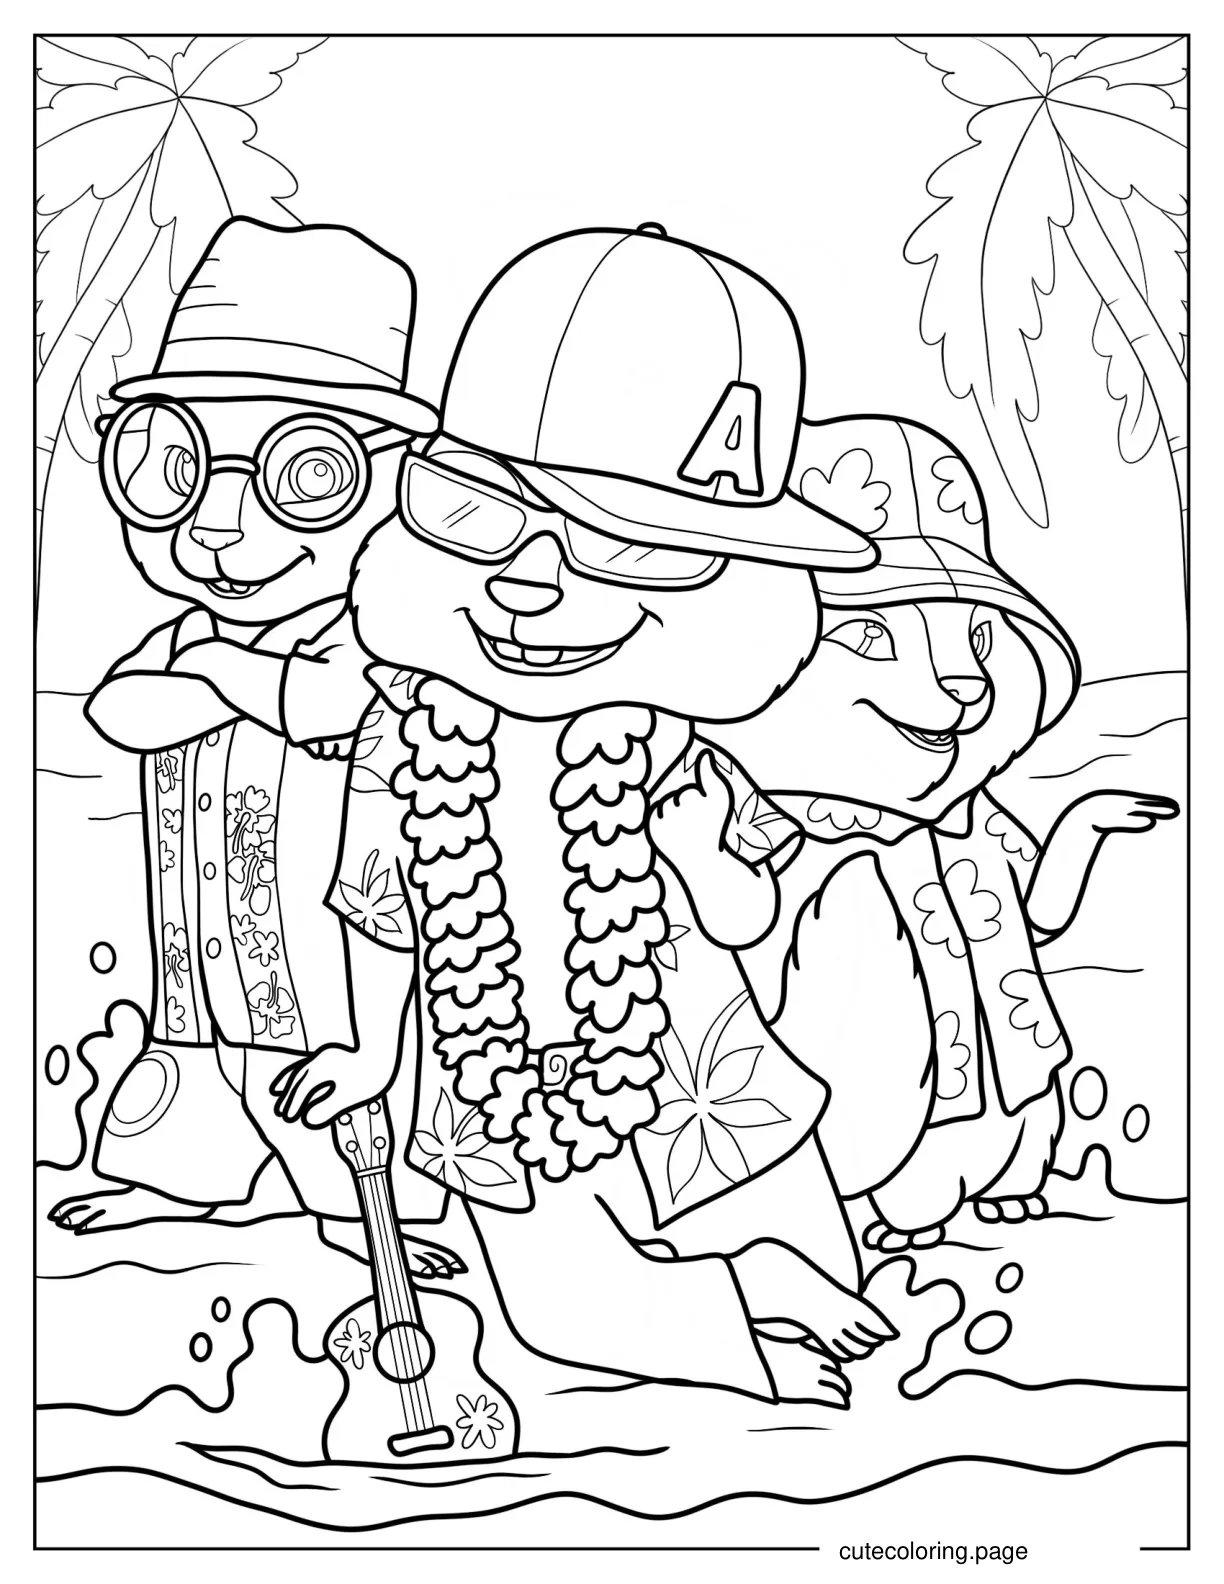
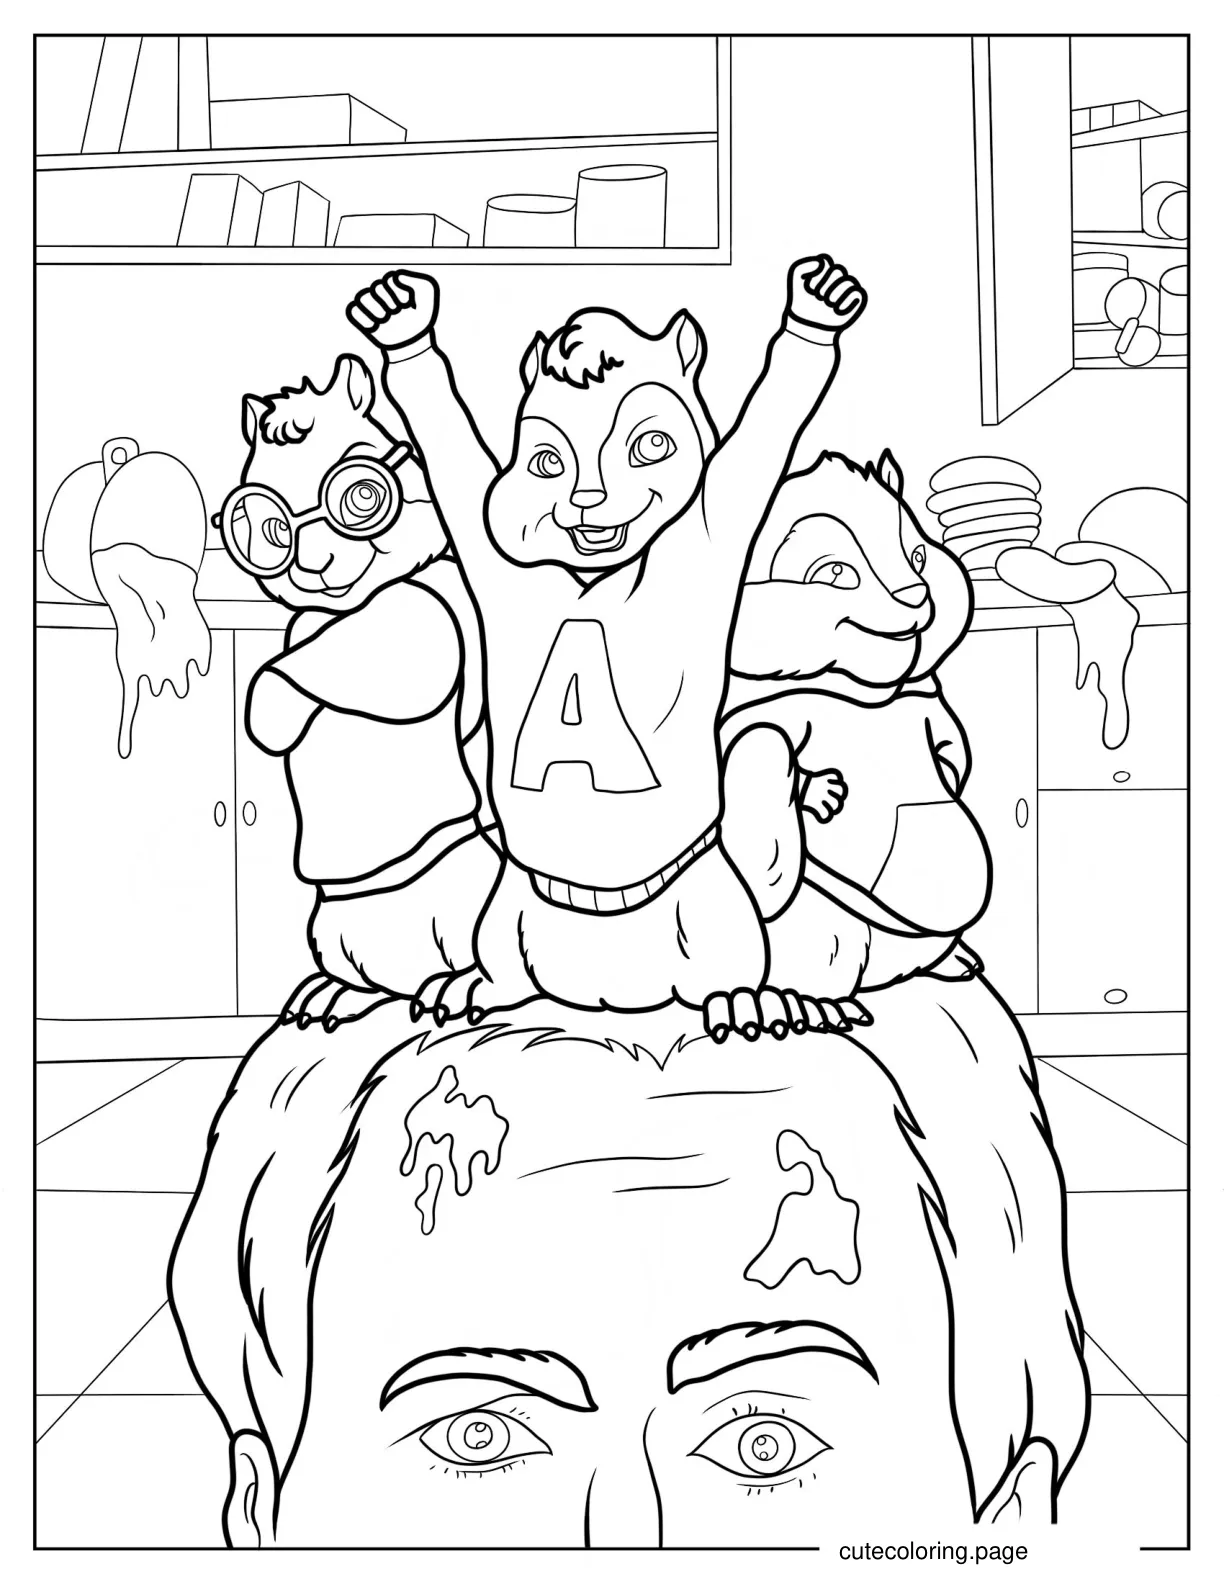
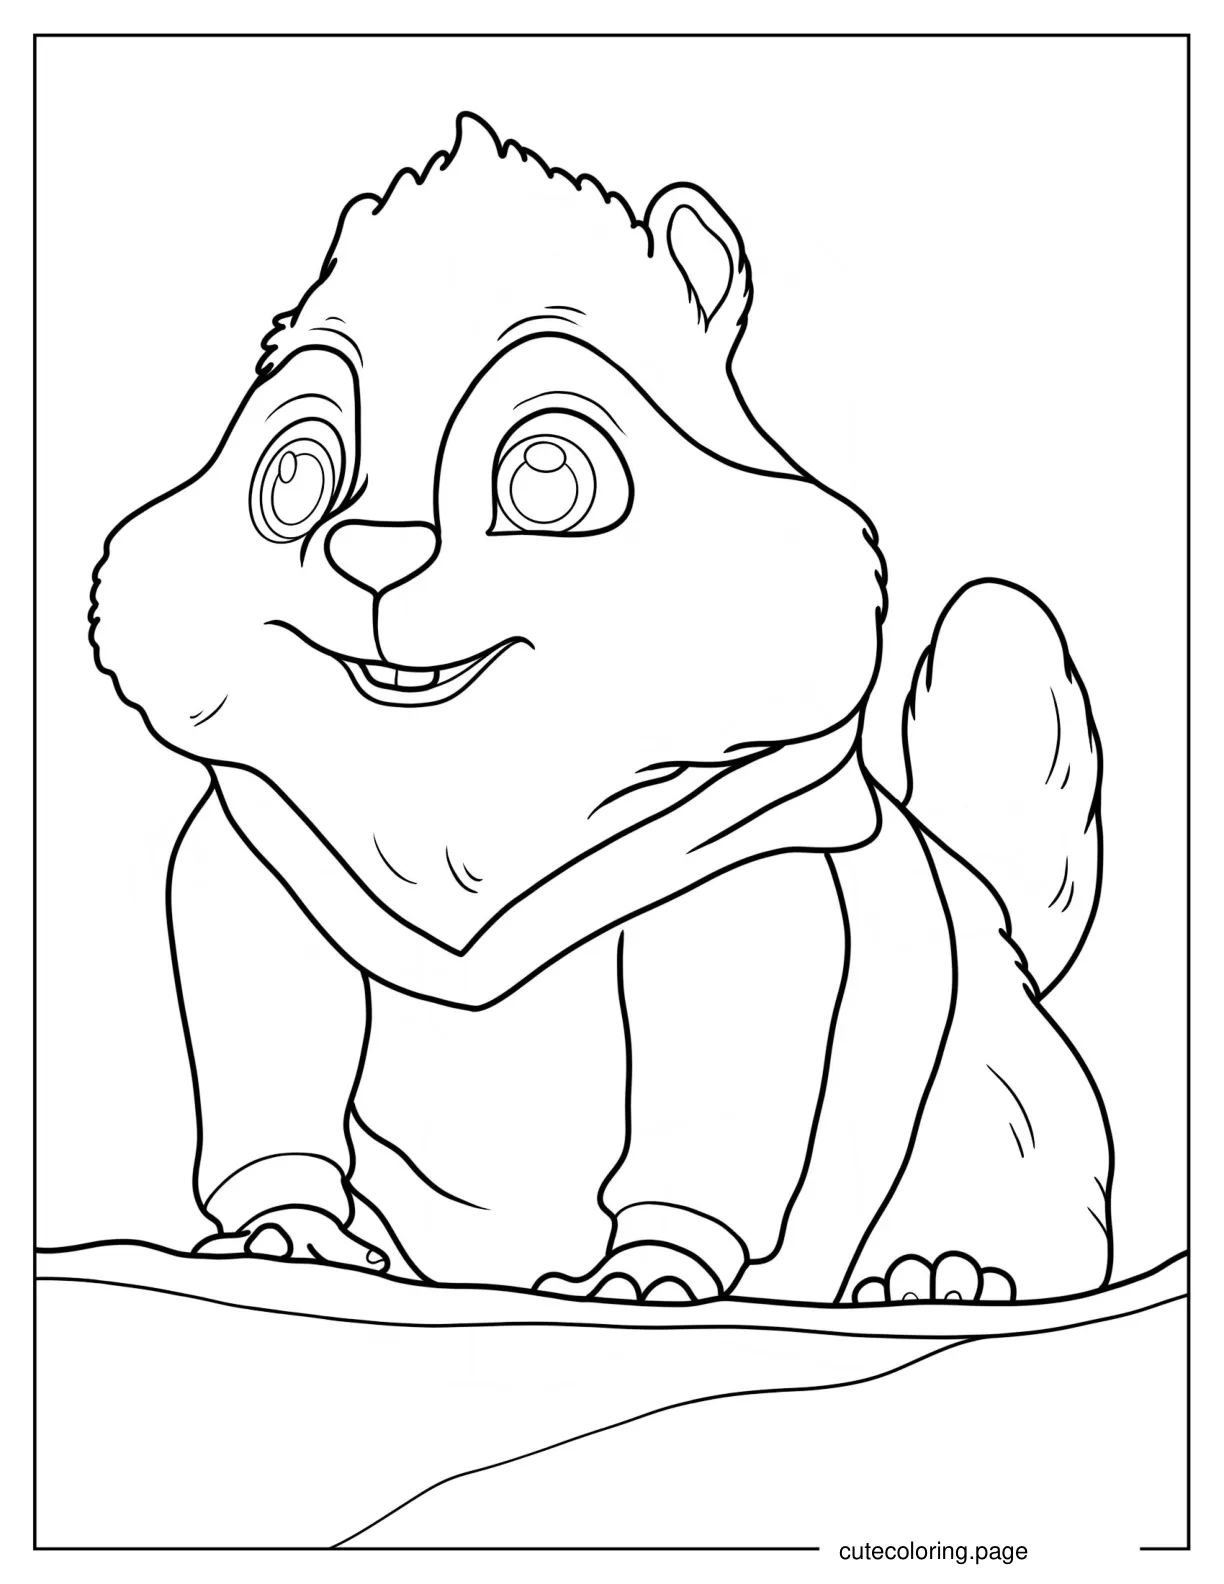
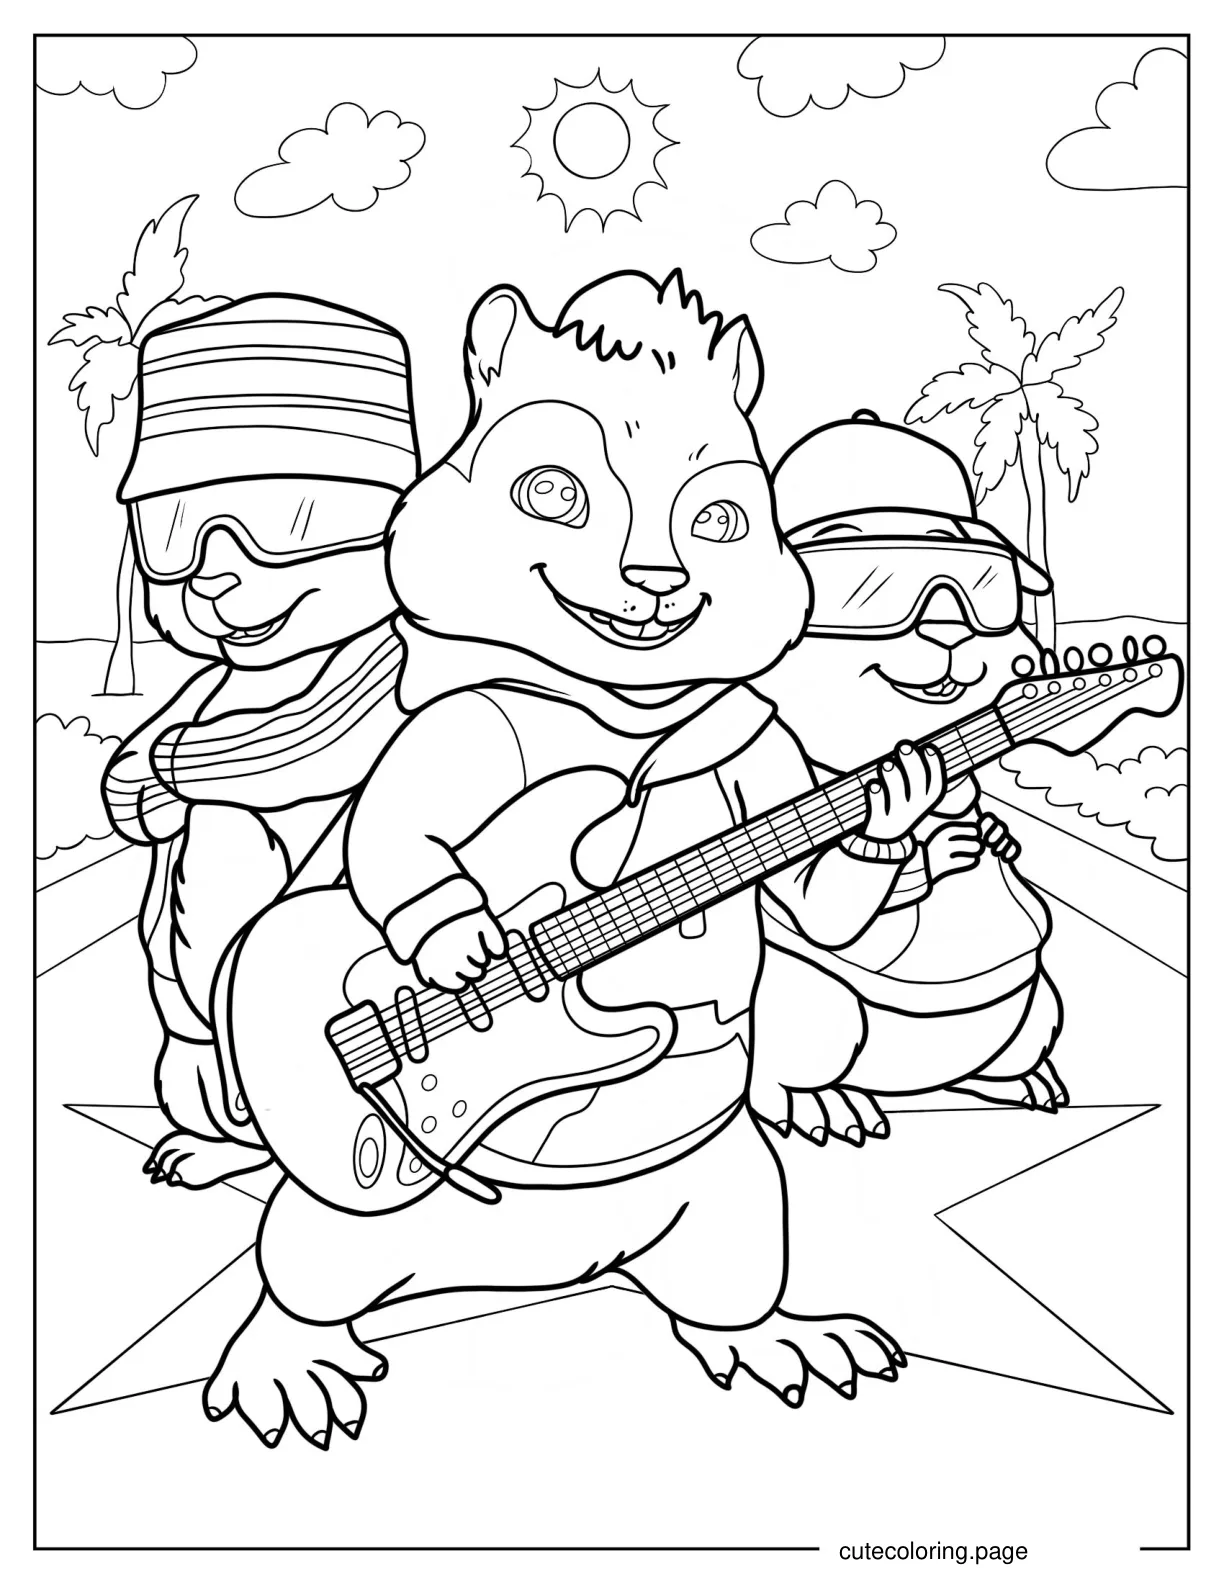
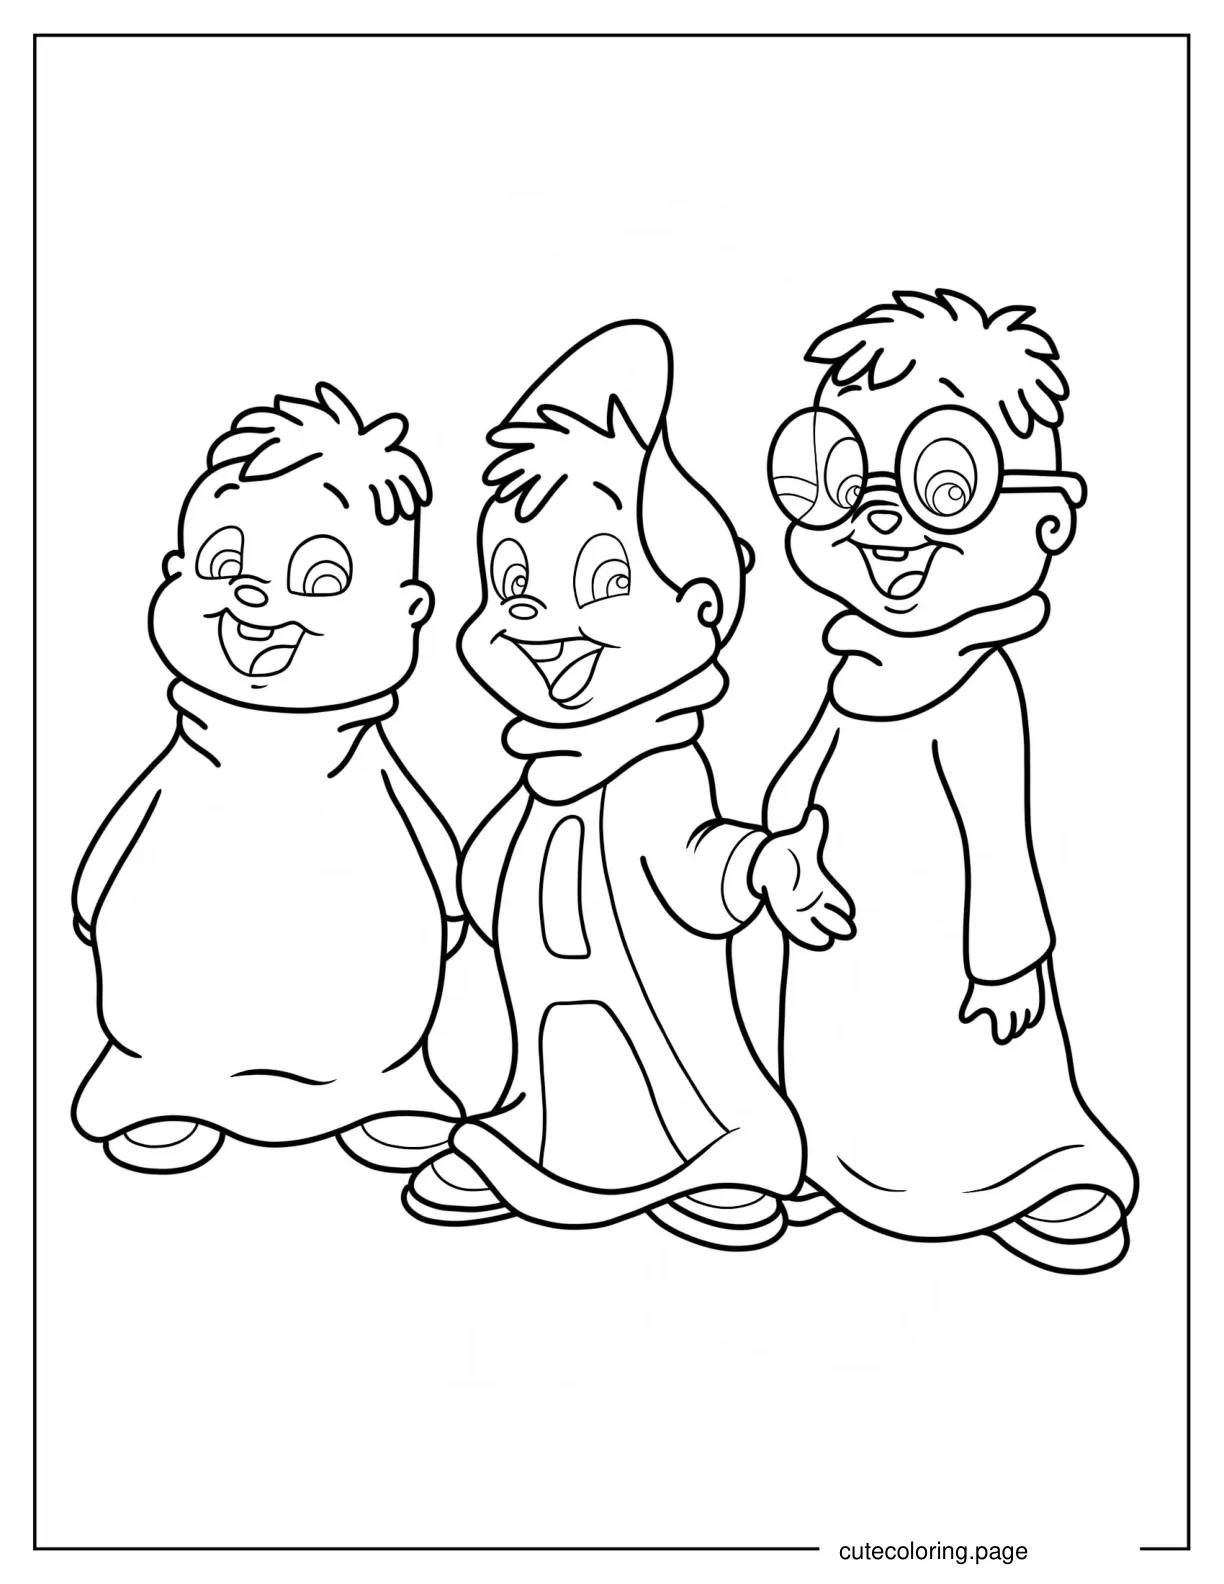
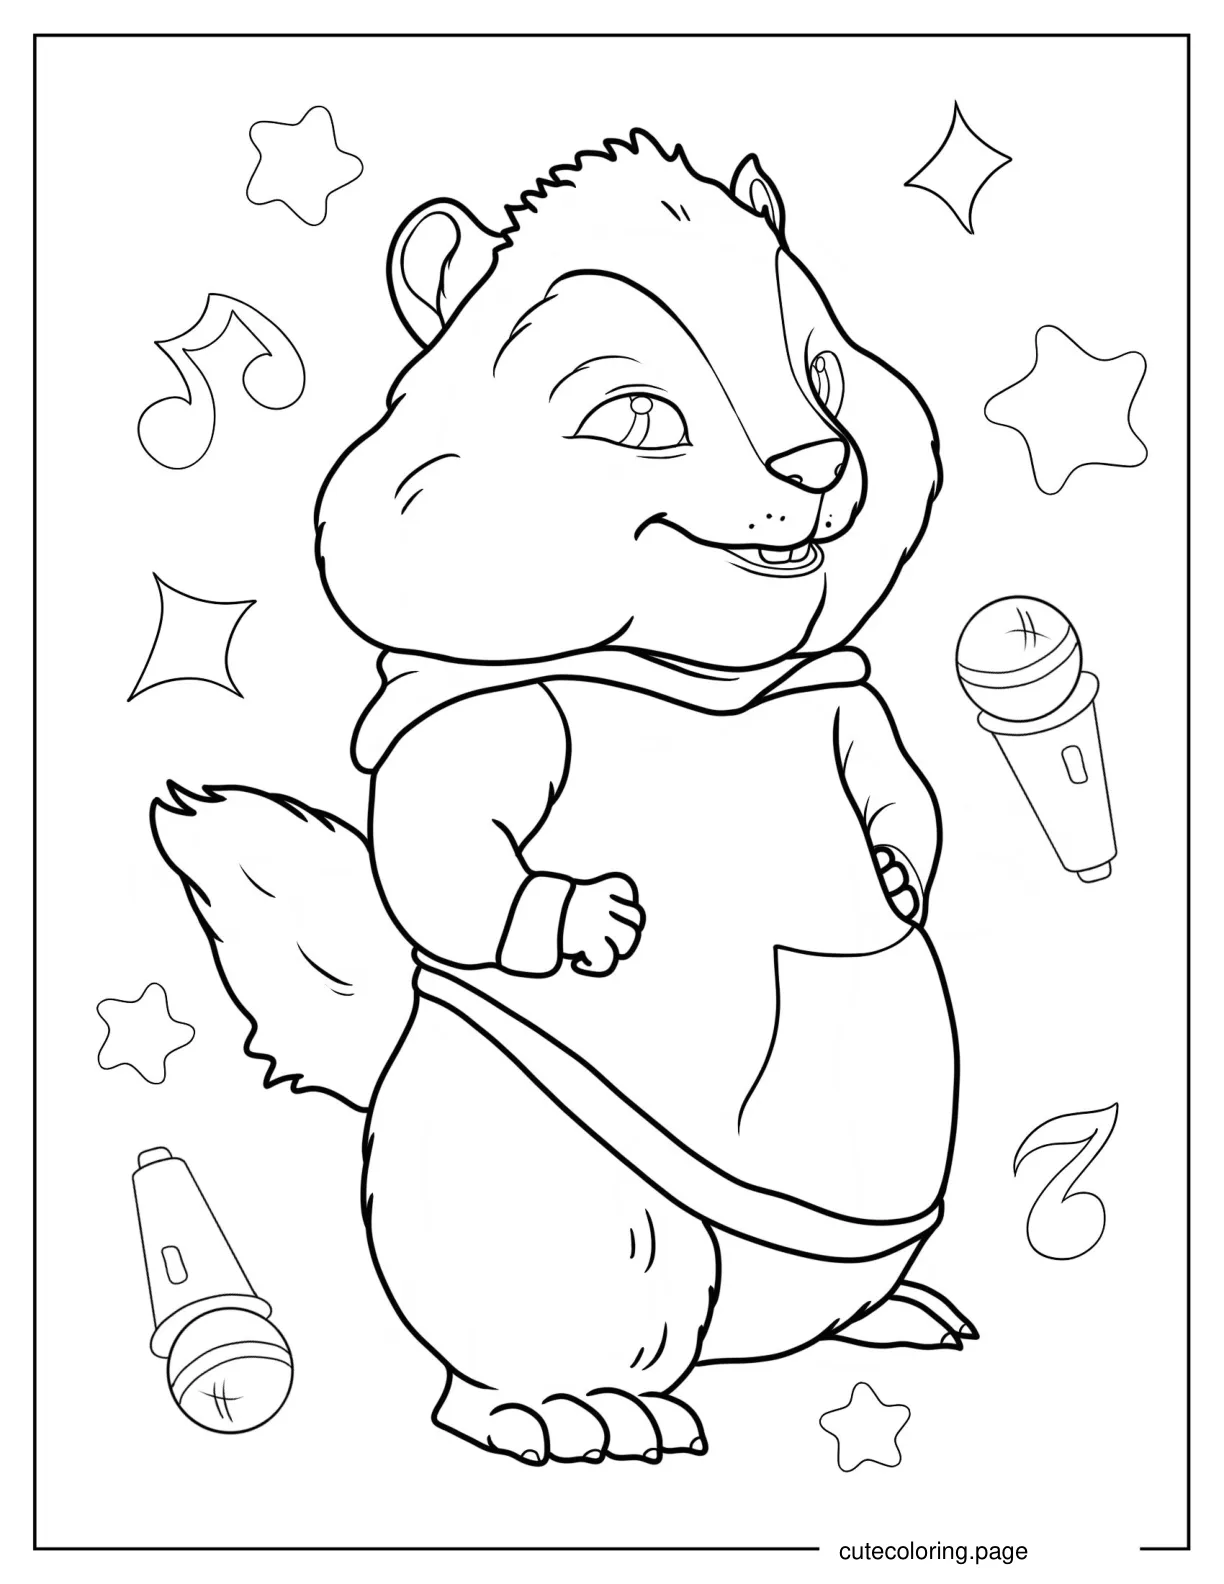
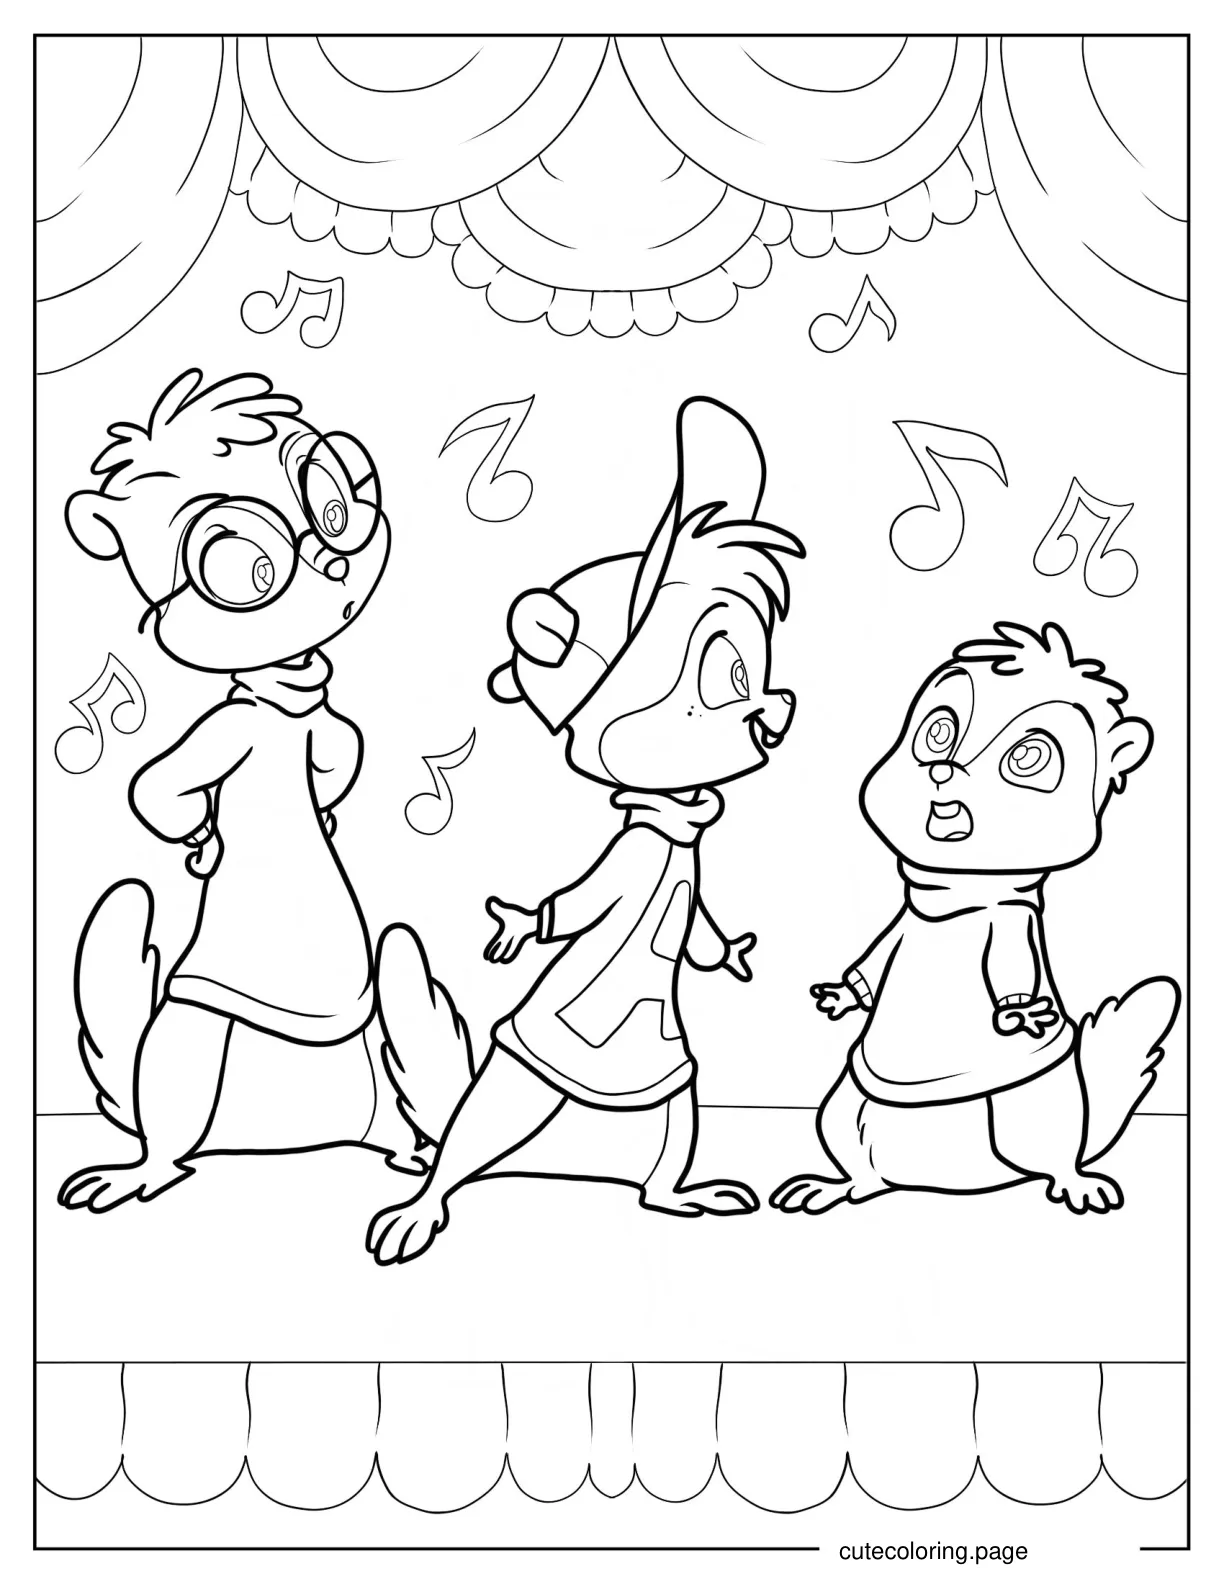
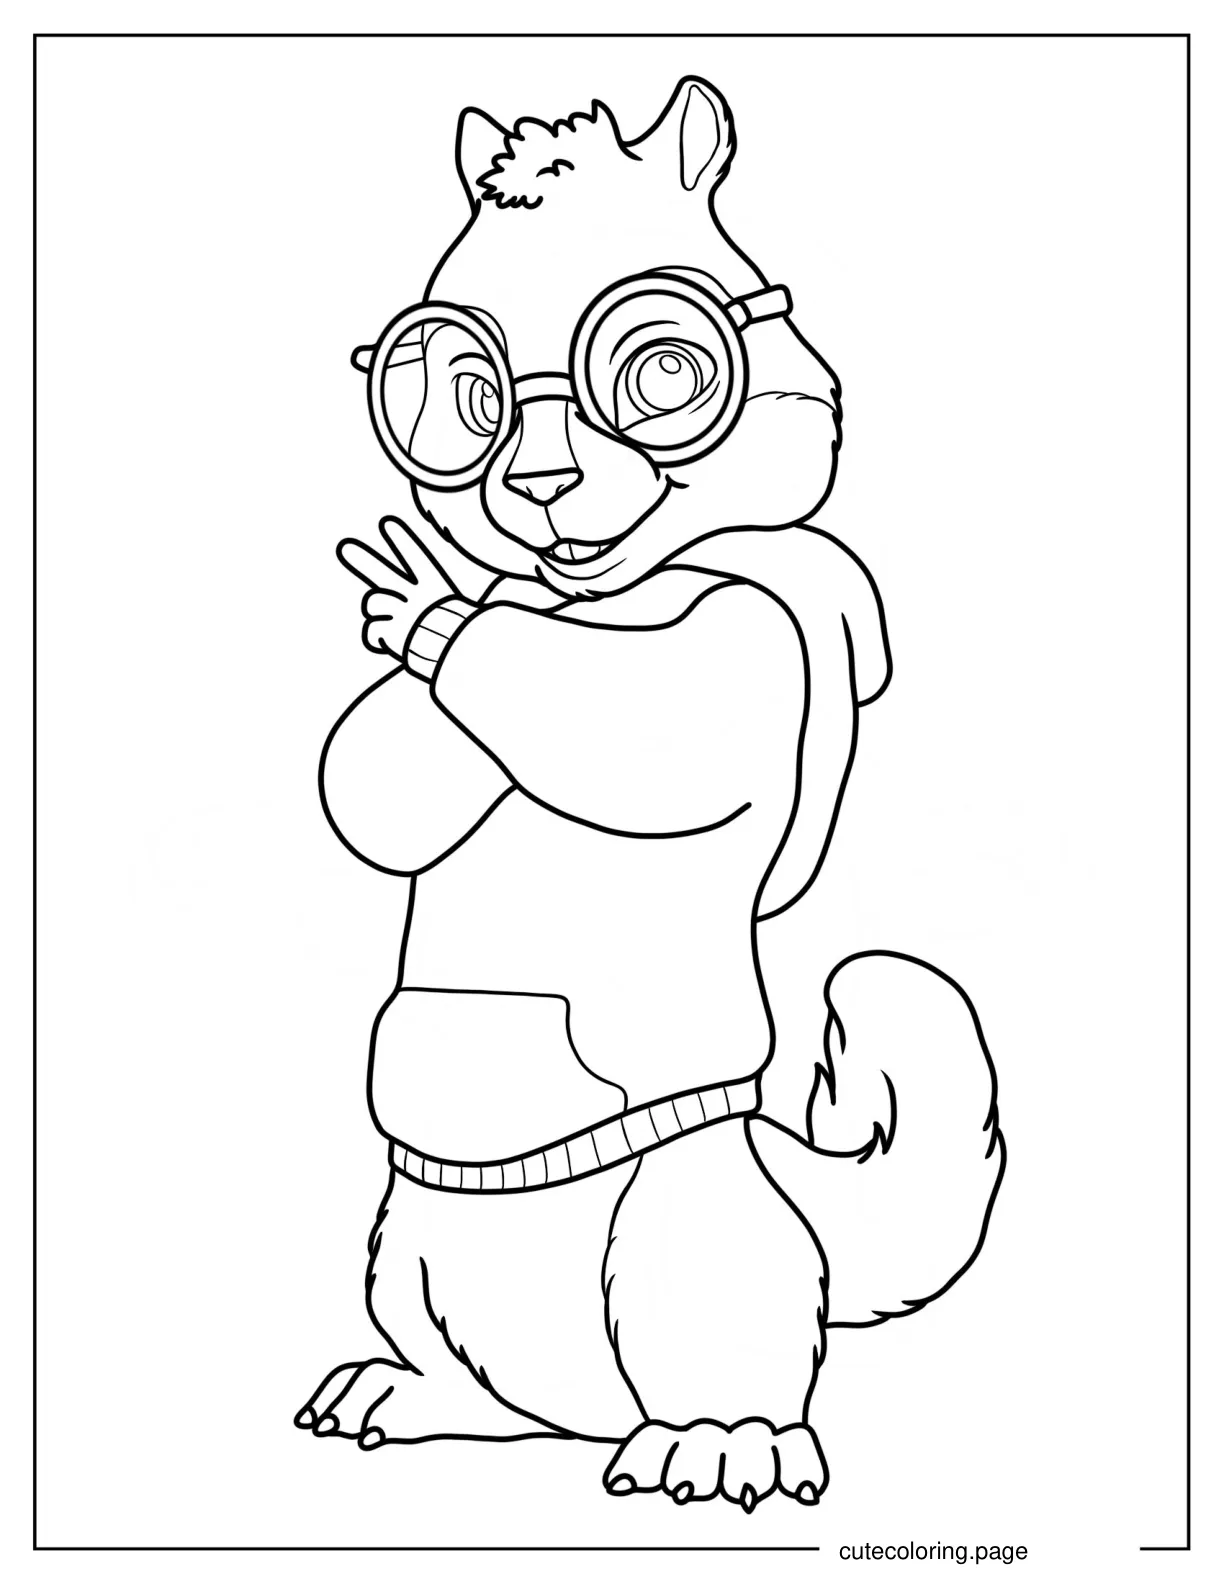
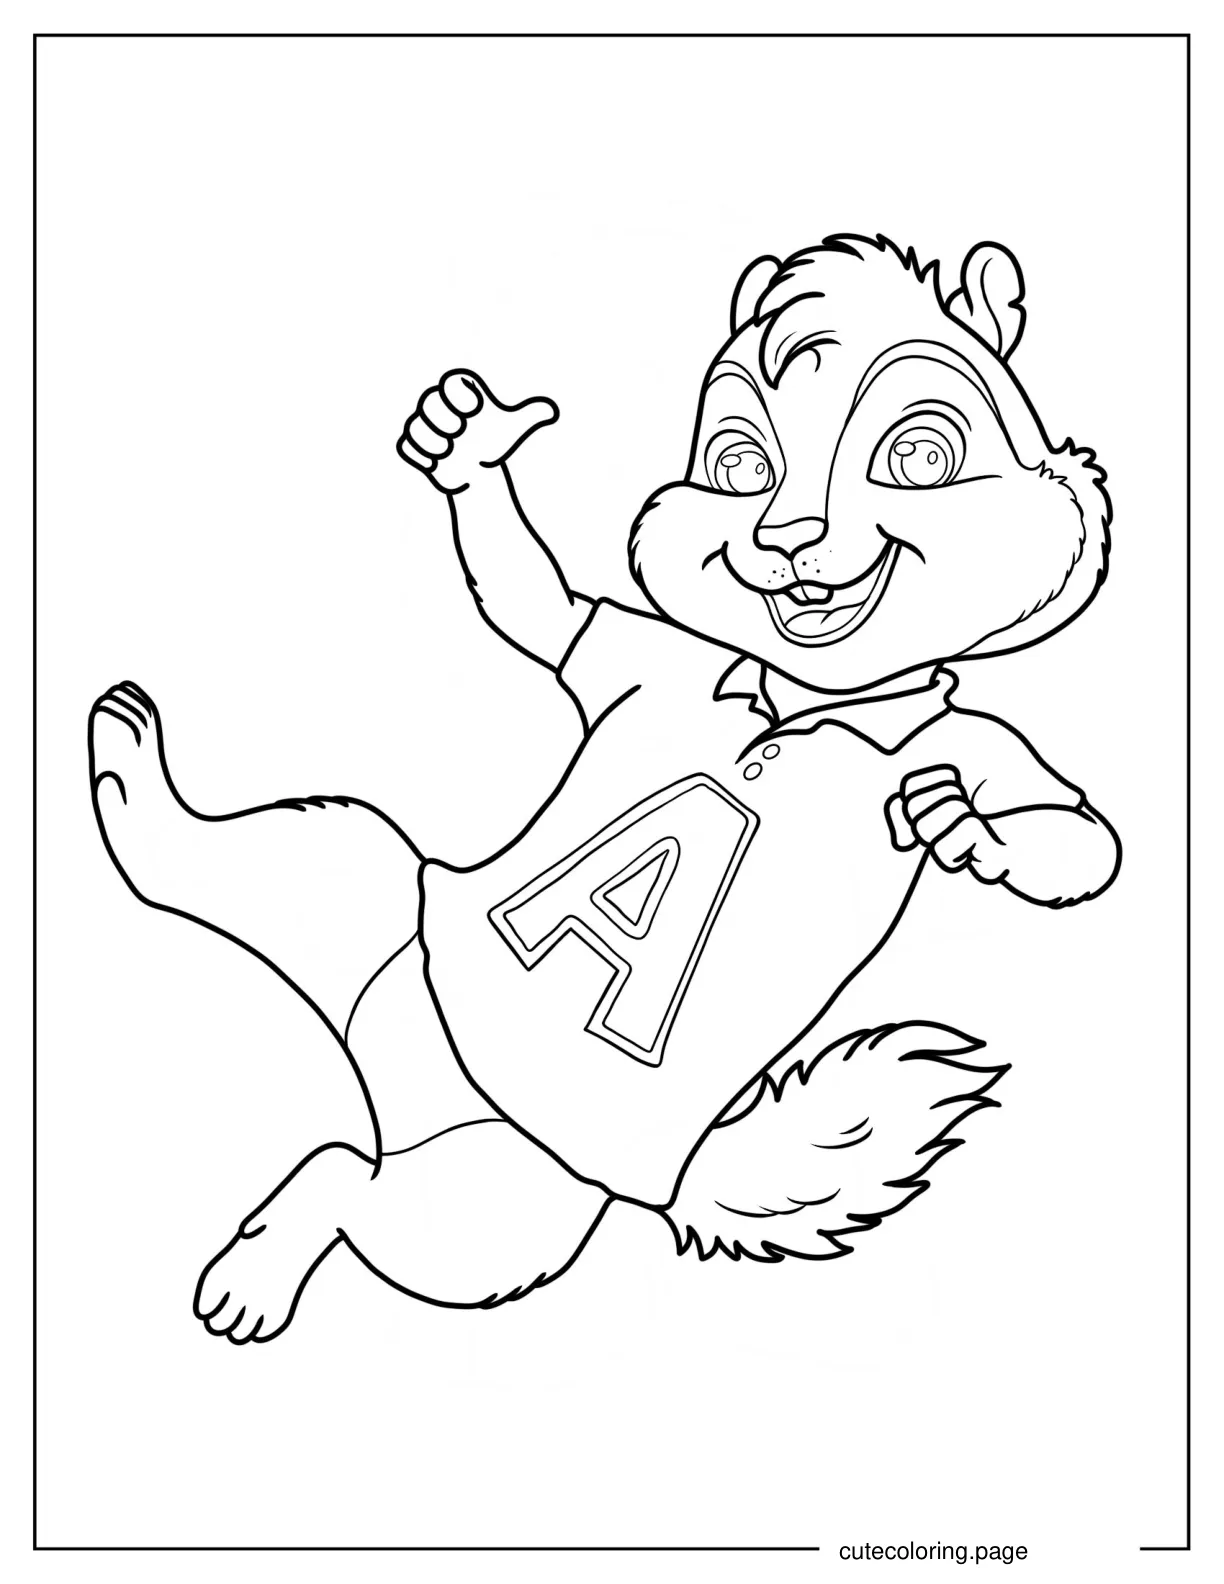
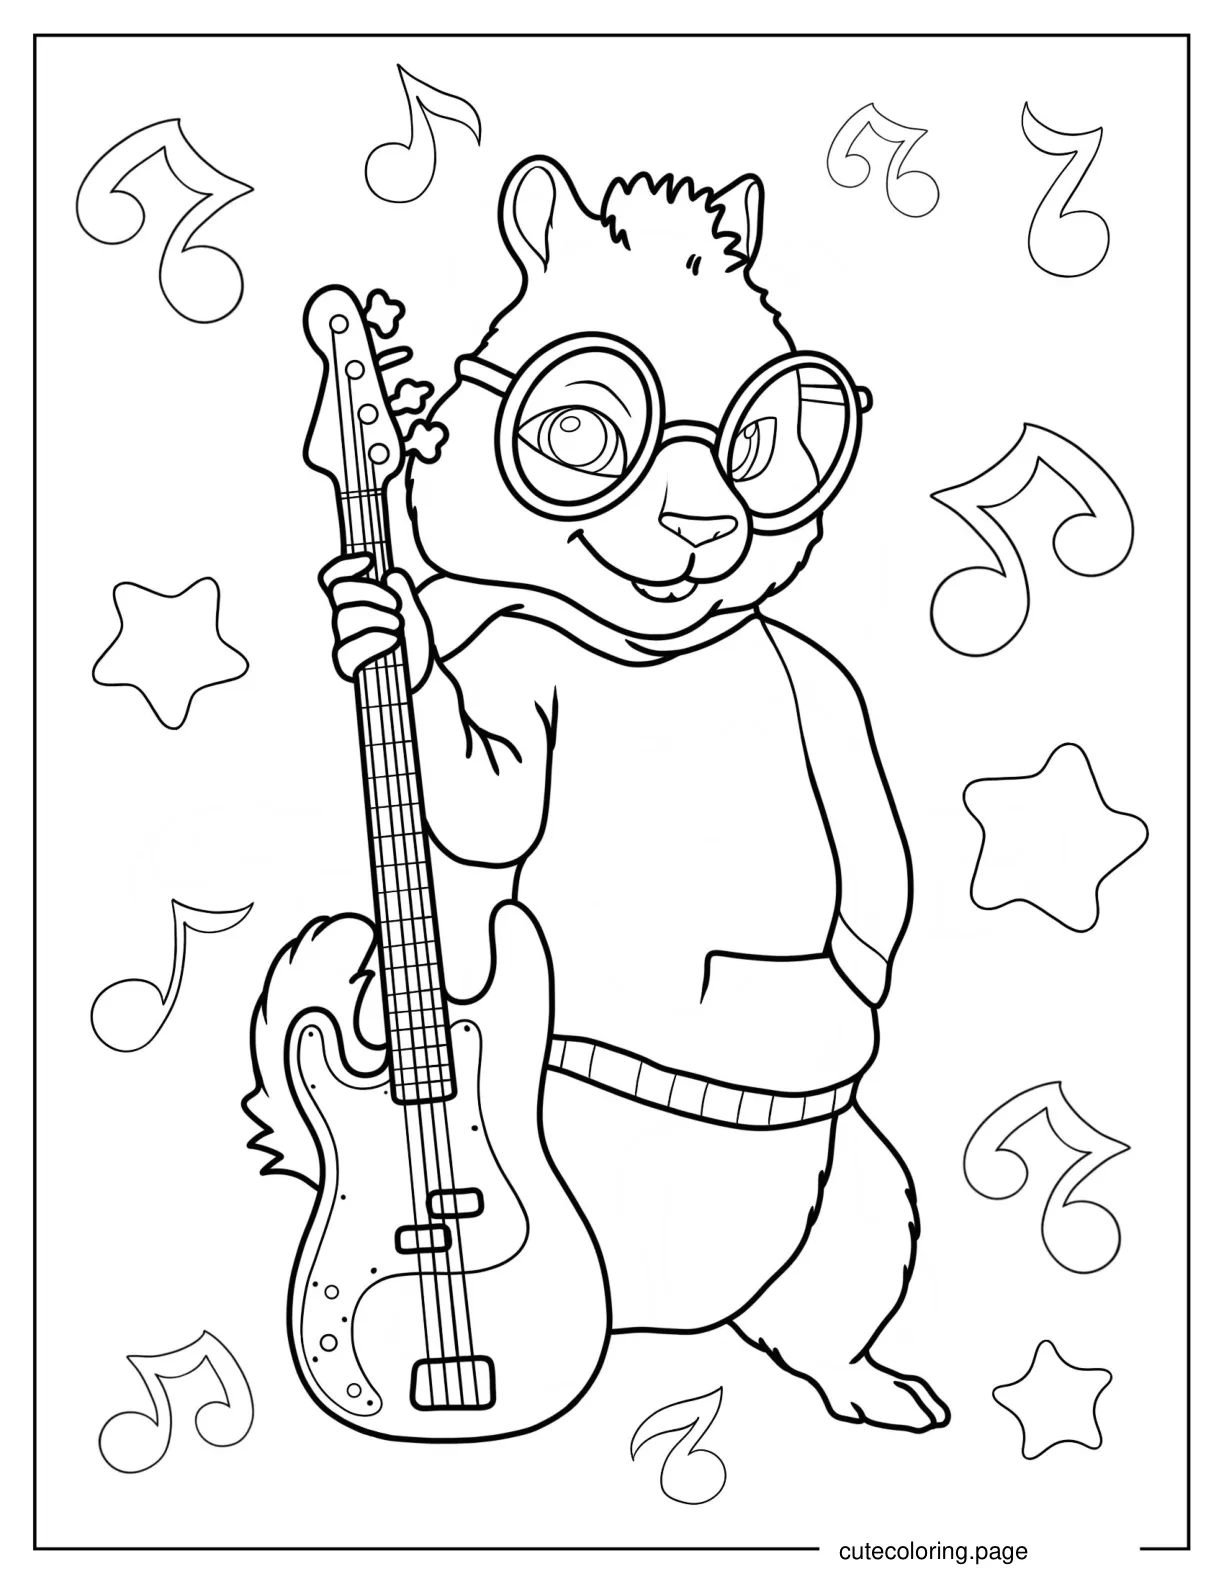
Welcome to our delightful collection of 20+ free printable Alvin and the Chipmunks coloring pages! Join the musical adventures of the mischievous Alvin, the intelligent Simon, the lovable Theodore, and their patient father figure Dave Seville.

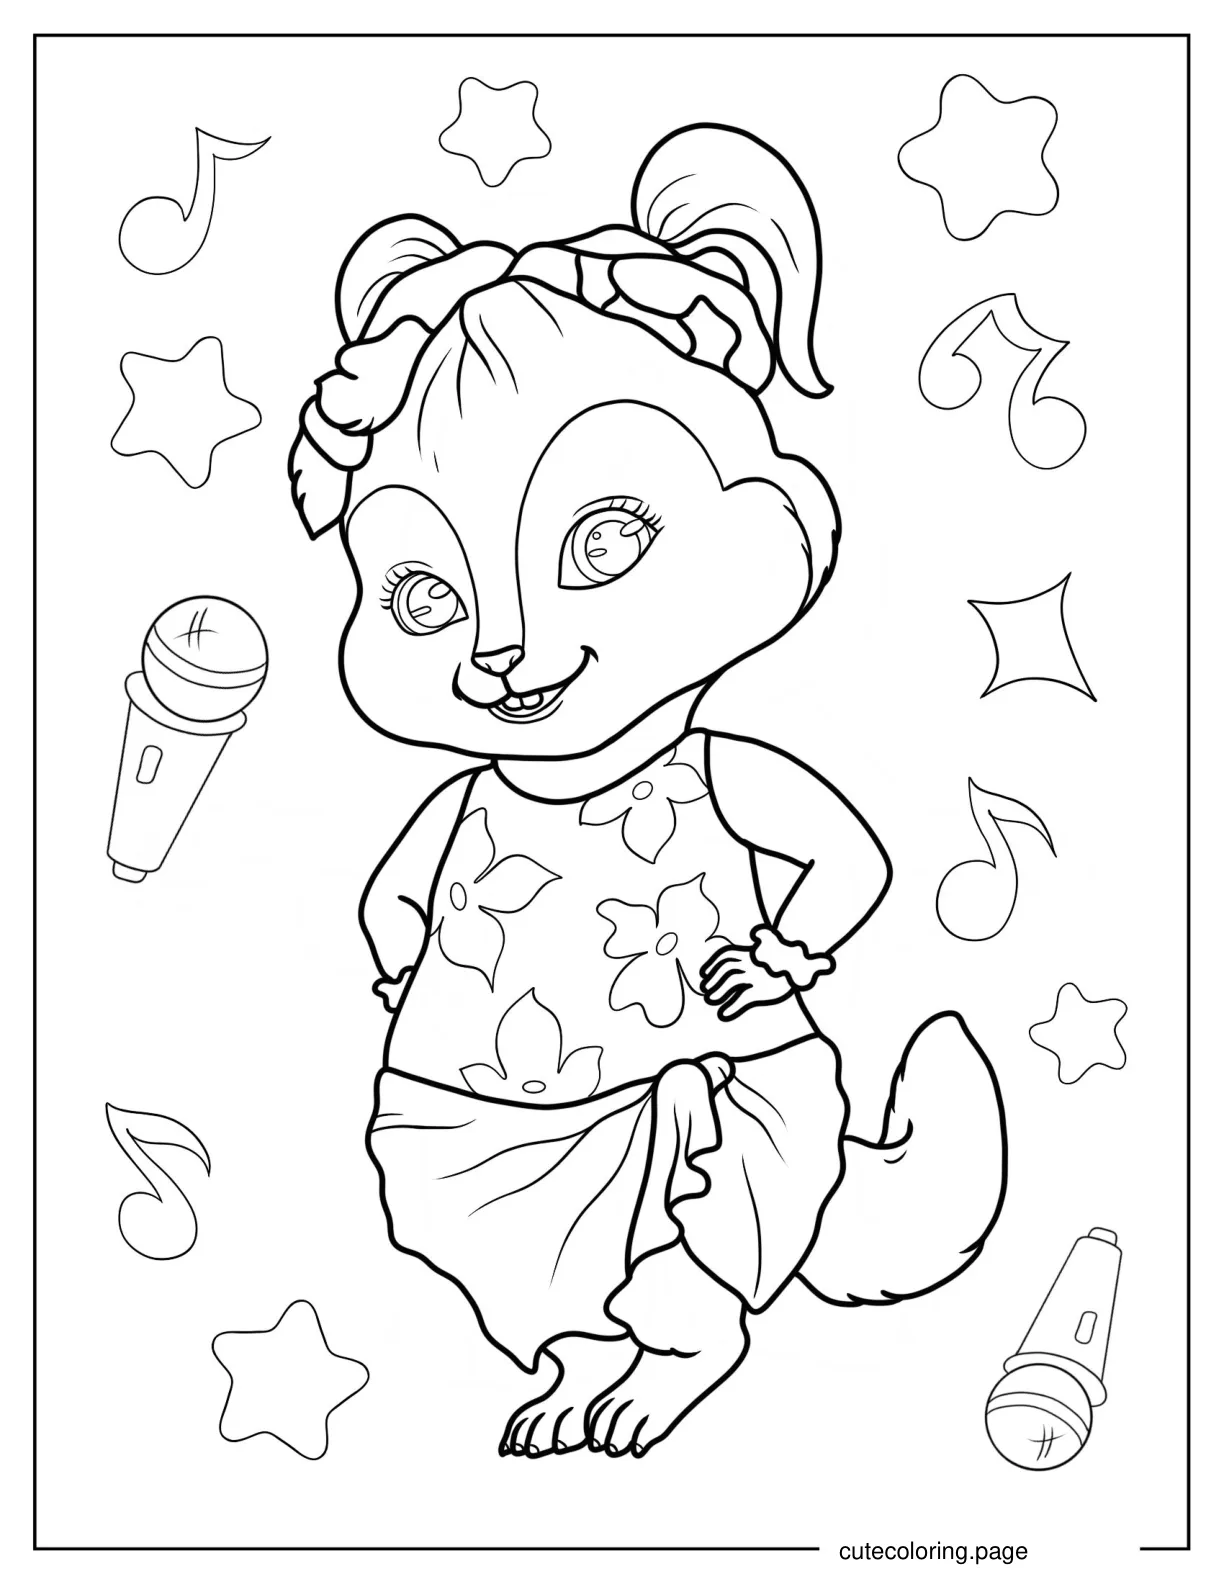
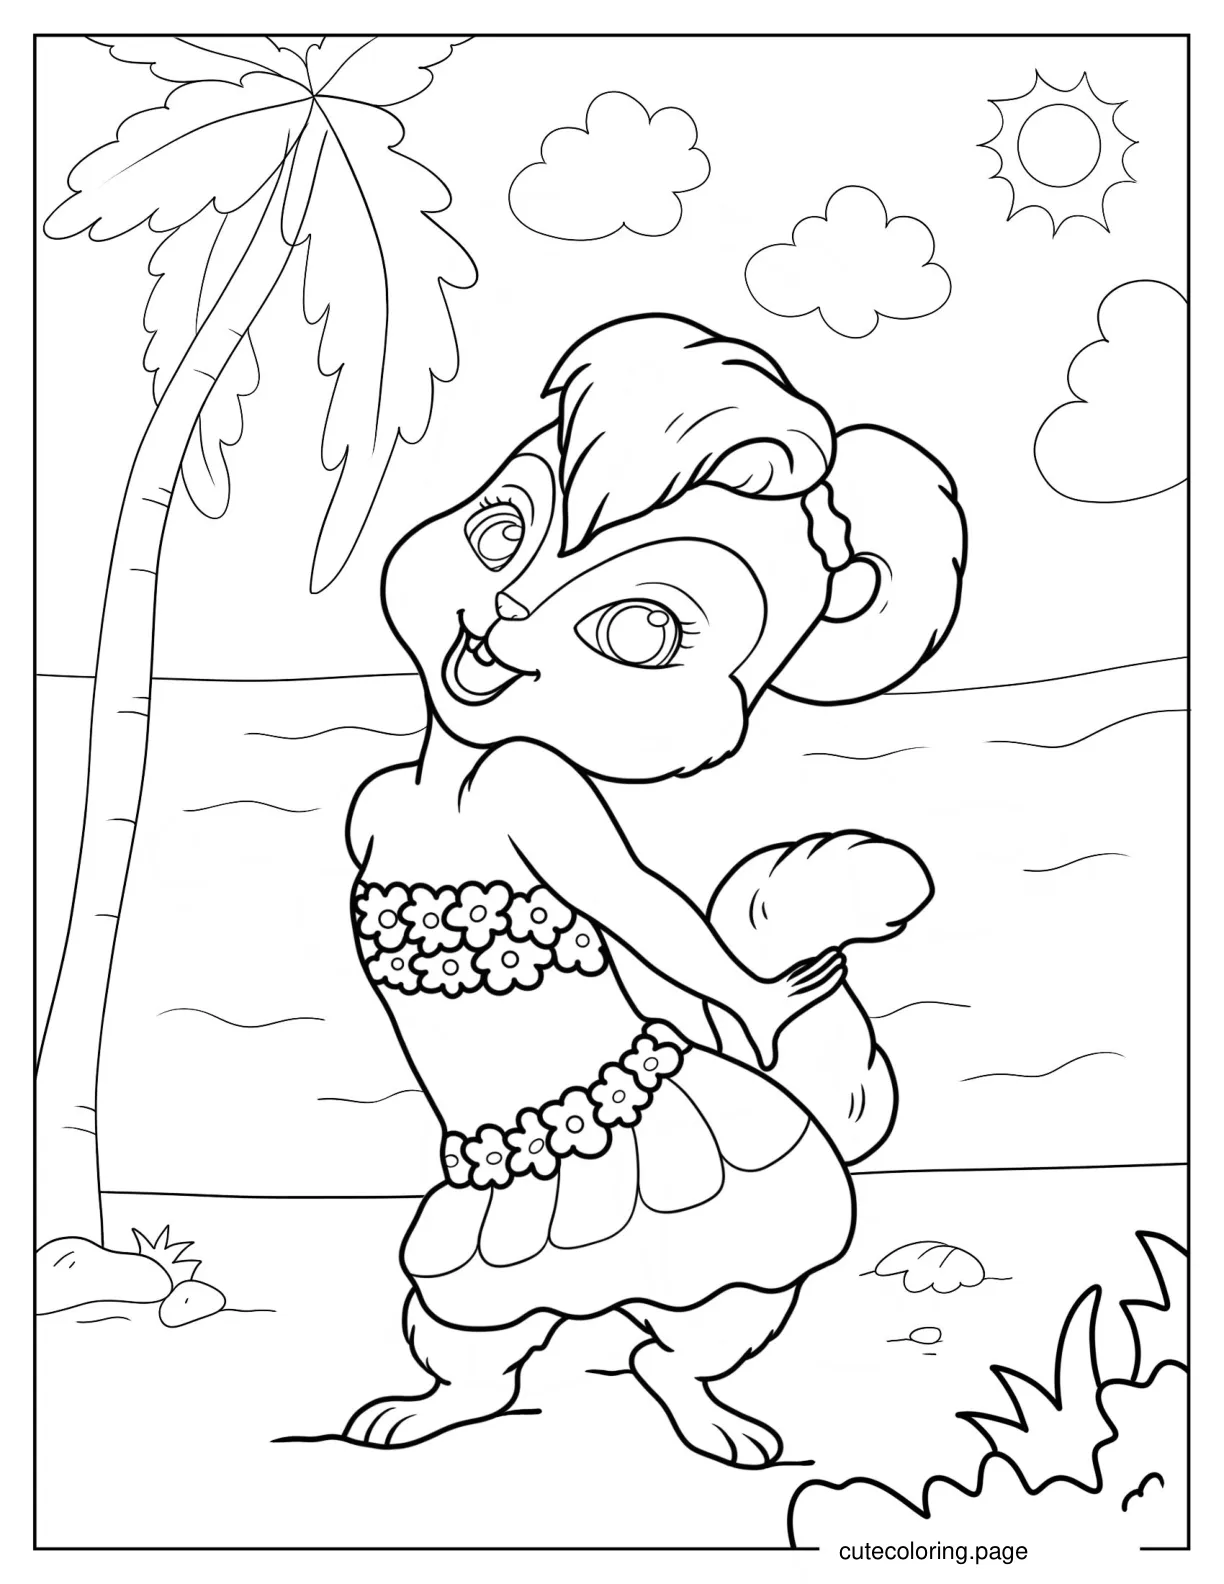
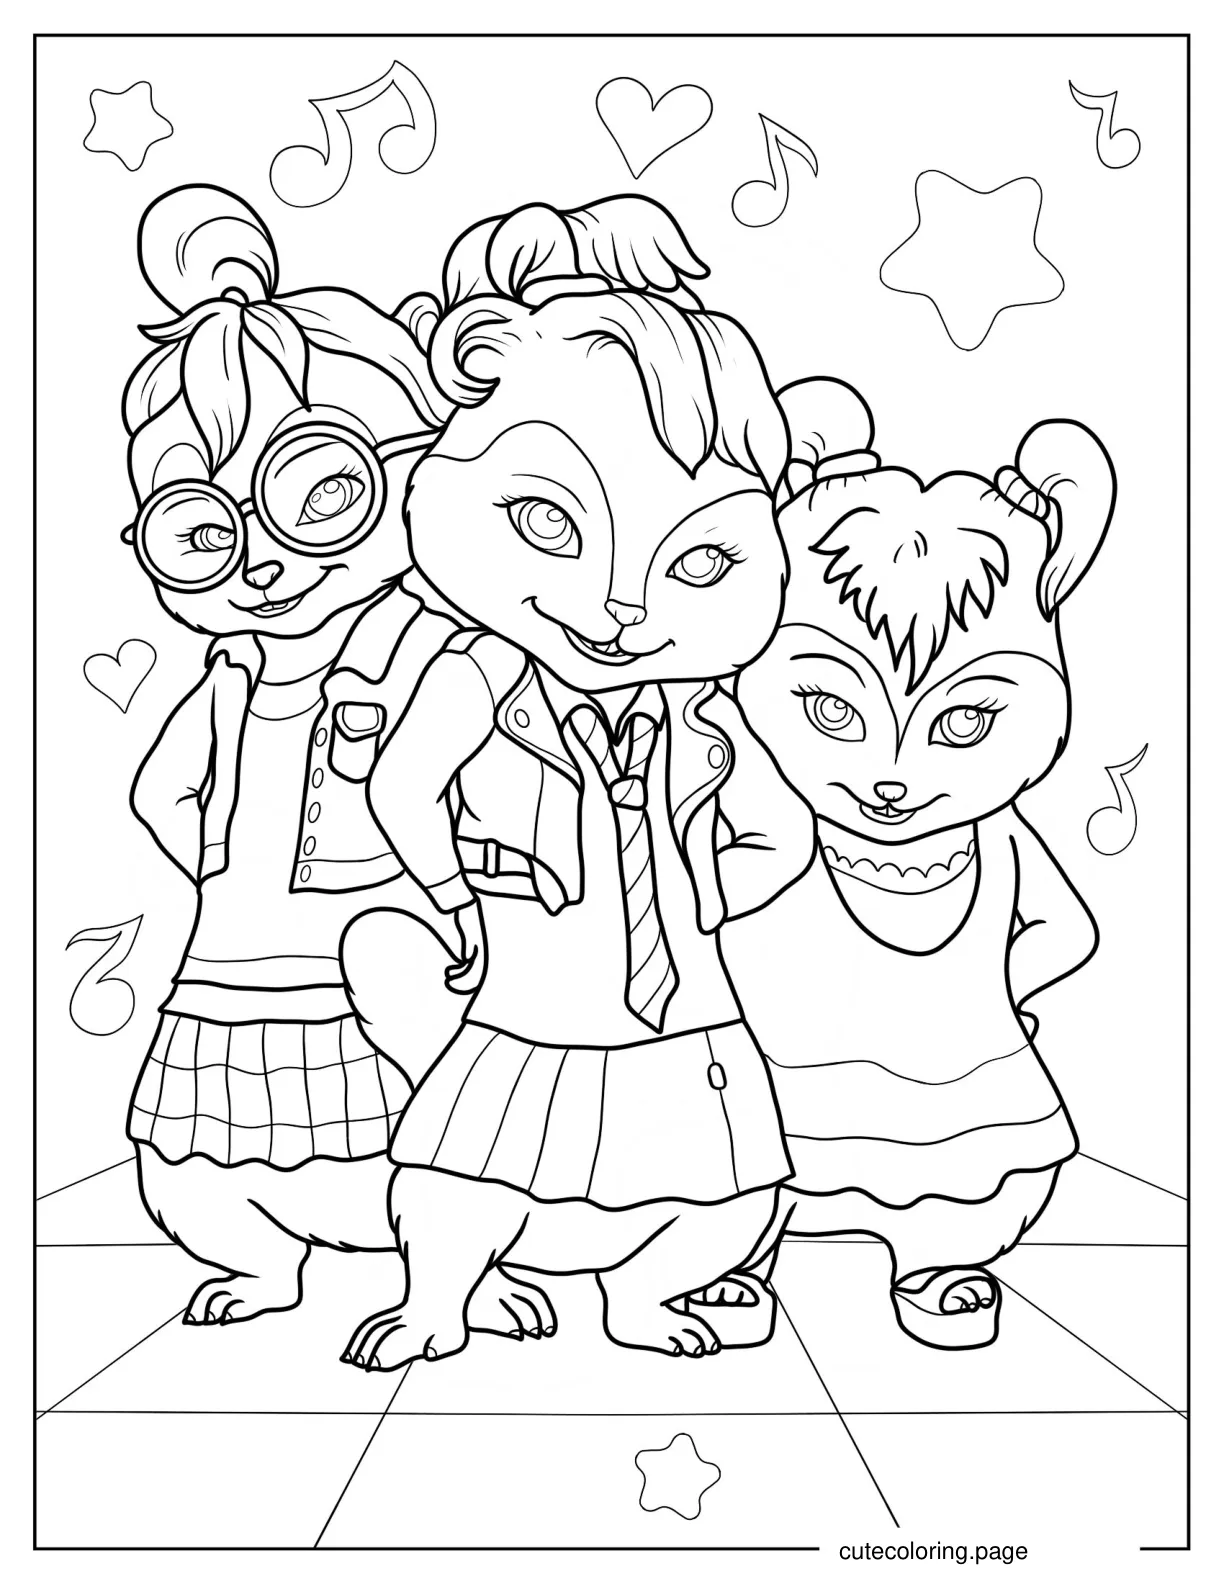
These carefully crafted pages feature memorable scenes from their energetic concerts, fun beach outings, and sweet moments at home. You'll find the Chipettes too - Brittany, Jeanette and Eleanor - adding even more charm to this collection. Whether you grew up watching the original cartoon series or love the modern movies, these coloring sheets perfectly capture the playful spirit and heartwarming friendship of these beloved singing chipmunks!

alvin-and-the-chipmunks-coloring-pages

To use any of these free printables, click on any of the images below or links to open the high-resolution PDF on a new page. From there, you can freely download or print to your heart’s content!

All these PDF coloring pages are on standard US letter size, but they also fit perfectly onto A4 paper sizes! Enjoy!

Alvin and the Chipmunks History

Alvin and the Chipmunks have been a beloved part of popular culture since their inception in 1958, when Ross Bagdasarian Sr. created the trio of singing chipmunks—Alvin, Simon, and Theodore. Originally introduced through novelty songs like "Witch Doctor" and "The Chipmunk Song (Christmas Don't Be Late)," they quickly became a sensation, leading to animated television shows and films. Their unique high-pitched voices, achieved through sped-up recording techniques, captivated audiences and established them as a staple in family entertainment.

Unique Craft Ideas with Alvin and the Chipmunks Coloring Pages

1. Chipmunk Puppets

Transform your colored pages into playful puppets! Cut out the faces of Alvin, Simon, and Theodore and glue them onto paper bags. Kids can use these puppets for storytelling or puppet shows, bringing the characters to life in their own imaginative ways.

2. DIY Ornaments

Create festive ornaments by cutting out colored chipmunk characters and sealing them in contact paper. Add small decorations like felt Santa hats or tiny jingle bells to make them holiday-ready. These can be hung on the Christmas tree or used as gifts.

3. Personalized Bookmarks

After coloring, cut around the chipmunk characters to make unique bookmarks. Laminate them for durability, and they’ll not only keep your place in a book but also showcase your child’s artwork.

4. Chipmunk Masks

Kids can have fun pretending to be their favorite chipmunks by making masks. Color the characters, glue them onto sturdy cardstock, cut them out, and punch holes for elastic bands. This craft is perfect for dress-up play or themed parties.

5. Creative Door Signs

Have children color their favorite chipmunks and then glue them onto a piece of poster board. They can add their initials using construction paper cutouts, creating personalized door signs that showcase their creativity.

6. Chipmunk Mobile

Make a whimsical mobile by hanging colored chipmunk cutouts from strings attached to a hanger or hoop. This craft adds a fun touch to any room and showcases the colorful characters in a dynamic way.

7. Gift Bags

Turn finished coloring pages into unique gift bags! Simply fold and tape the pages into bag shapes, adding ribbon or tissue paper for decoration. These personalized bags are perfect for birthdays or special occasions.

8. Decorative Magnets

Create magnets by gluing small colored chipmunk images onto round magnets or glass marbles. These can be used to decorate the fridge while showcasing your child’s artwork.

9. Storybook Creation

Compile several colored pages into a storybook format. Children can narrate their own stories featuring Alvin and his friends, turning their coloring activity into an engaging storytelling session.

These craft ideas not only enhance the fun of coloring but also encourage creativity and hands-on learning experiences that children will cherish. By combining art with crafts, you create opportunities for imaginative play that can be enjoyed by kids of all ages!

To make Alvin and the Chipmunks puppets, you can choose from a couple of different methods depending on the materials you have on hand. Here are the materials needed for two popular puppet-making techniques: using paper bags and felt.

How to Make Alvin and the Chipmunks Puppets

To make Alvin and the Chipmunks puppets, you can choose from a couple of different methods depending on the materials you have on hand. Here are the materials needed for two popular puppet-making techniques: using paper bags and felt.

Materials for Paper Bag Puppets

If you prefer a simpler approach, you can create puppets using paper bags. Here’s what you’ll need:

  • Brown paper bags (one for each puppet)
  • Colored construction paper (red, blue, green, and yellow for clothing and accessories)
  • Scissors
  • Glue stick or liquid glue
  • Markers or crayons (for adding details)
  • Googly eyes (optional, for added fun)
  • Craft foam (optional, for additional textures)

Steps:

  1. Color or cut out the chipmunk characters from colored construction paper.
  2. Glue the characters onto the front of the brown paper bags.
  3. Use markers or crayons to add facial features and details.
  4. Optionally, attach googly eyes for a playful effect.

Materials for Felt Puppets

For a more durable puppet option, consider making felt puppets. Here’s what you’ll need:

  • Brown felt (2 pieces for each chipmunk)
  • Colored felt (red for Alvin's shirt, blue and green for Simon and Theodore's shirts)
  • Polyfill stuffing (to give the puppets some volume)
  • Scissors
  • Hot glue gun and glue sticks
  • Templates for Alvin, Simon, and Theodore (you can find templates online or draw your own)

Steps:

  1. Cut out two layers of each chipmunk character from brown felt.
  2. Cut out shirts and letters from colored felt.
  3. Use hot glue to attach the shirt pieces to one layer of the chipmunk.
  4. Glue around the edges of the two layers, leaving the bottom open.
  5. Stuff with polyfill before sealing the bottom with glue.

Both methods allow for creativity in decorating and personalizing your puppets, making them perfect for storytelling and playtime!

About Us 🎨

Cute Art Team

Cute Art Team

We're a passionate team of artists and gamers dedicated to bringing joy through creative coloring pages!

15,000+
Pages
100K+
Happy Users